Student Jacqui Replicates Her Favourite Tunic Top
Posted on
I’m now onto my third project with Sew-in-Brighton (in Hove Actually) ….
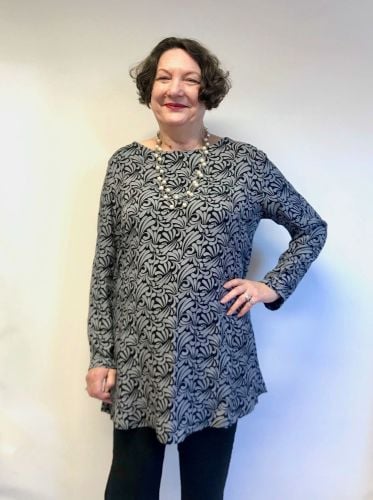
Having already accomplished a 1940s style tailor-made dress from just a picture, and a converted kimono jacket, it was time to press on with my next (ad)venture - making a facsimile of my favourite Monsoon velvet devore tunic top. I learned so many tips along the way, I've shared them below with you.
In the first lesson, in order to create an accurate pattern, I was instructed to fold my tunic in half lengthways and pin it out onto cross and spot paper.

This proved to be tricky with the slippery fabric but lots of pins close to the edge helped to secure it in place ready for drawing round the shape.
This procedure was then repeated with the other side of the garment and the sleeves.
Cutting out my new slippery crepe fabric was really difficult so I was advised by Kat, the teacher, to use lots of pins close together to help hold the shape - a very helpful hint!
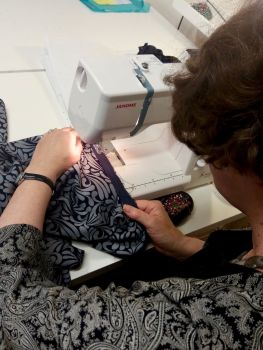
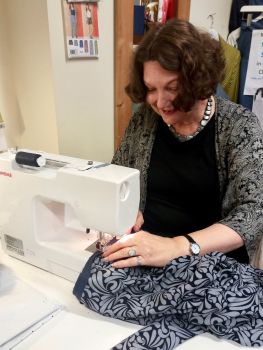
Prior to sewing the garment together, the neckline was machine stitched to prevent the fabric from stretching.
On the original tunic the seams were first sewn together and then overlocked, so this procedure was adopted for the new garment, thereby providing a neat, fray-free finish.
I then secured the neckline with matching bias binding to create a neat finish.


The hemline of the garment was marked out by Kat with the use of a practical device which delineated the bottom line of the hem measured from the floor in chalk.
I decided to hem the bottom of the tunic and sleeves by hand.

The finished article looked wonderful. But the crepe fabric I had chosen, had more give in it the dezore fabric of the original garment, so it felt slightly roomier. The neckline had stretched slightly when I put the binding on and we remedied this by making a coupld of tucks at the front which actually looked great and even improved the design.
Kat recommended if I were to make it again to use fusable or sew-in stay tape before applying the binding to stop the neckline stretching at all. Not all fabrics need this apparently, stay-stitching is often enough but I had picked a fabric with a lot of give in it.
All of these things have added a new learning curve to my skills and i'm pleased with my new top. I'm delighted to have the pattern so I can make some more at home.
Jacqui made her top in a few of our weekly Stitch Classes. Find out more about them here.
You can also learn these skills in our 1 day workshop - Replicate Your Clothes.
View more info/book here
Contact us here with any questions!
