Pre-washing your fabric for making clothes and other sewing projects
Posted on
Did you know that a lot of fabric shrinks on the first wash? You don't want that to happen AFTER you've sewn it into a perfectly fitting garment, so read on to find out more about pre-washing and buying extra fabric just in case it shrinks and for many other reasons..
Question One
Are you planning to wash the item you're about to make during its lifetime, or will you dry clean it?
a) "I'm only going to dry clean it or never wash it"
You don't need to pre-wash your fabric. Under normal conditions, the process of dry cleaning should not shrink your clothes, as it uses a chemical solvent in a machine that both washes and dries your clothes
You may need to buy extra fabric for other reasons - scroll down to find out
b) "Yes, I am planning to wash it"
Go to Question Two
Question Two
Does your fabric contain any natural content - i.e. cotton, wool, viscose or linen? If so, you need to buy 10% extra fabric and pre-wash your fabric before you cut out and sew it. Man-made fabrics generally don't shrink, but you can wash them anyway if you want to be on the safe side! Follow our pre-washing guide below.
You may need to buy additional extra fabric for other reasons - read on to find out
Reasons you may want/need to buy extra fabric for your project
If you are going to wash fabric with any natural content, it may shrink - fabric usually shrinks 3-10%. Even boiled wool shrinks significantly when washed! There's always a chance it will shrink more, but it's unlikely. Buy at least 10% extra for each project where you plan to wash it at some point
You are tall or want a longer garment, curtain, or larger size item than your pattern or project provides - buy 2-4x the extra length you need. Eg if you want the trousers 10cm longer than the pattern, buy 20-40cm of extra fabric. The way the pattern is laid out on the fabric may need up to 4x this extra length depending on the style of garment or item
You are using patterned fabric with a 'repeat', and you want to match this on at least one seam - buy 0.5-1m extra, depending on the size of the repeat and number of items you are making. i.e. for curtains, you may need this extra per curtain. When you buy fabric, they may be able to advise, or if buying online, it should say the size of the repeat. You could email the seller to ask if it doesn't state this.
TOP TIP - if you are in a rush and want to just cut out and sew, but you've not pre-washed your fabric. Find out if it will shrink when washed following this method:
- Cut two postcard sized pieces of your fabric (lay your pattern lightly down first to check where your spare fabric will be!) - they need to be identical.
- Note which side of the piece was on the straight grain (parallel to the selvedge)
- Boil some water in a kettle
- Pour it into a heat proof jug, filling it up about a third
- Top up with two thirds cold water
- Ideally grab a cooking thermometer and check it's at 30 or 40 degrees
- Put one of the pieces of fabric in the jug, swish around for a minute or so
- Squeeze it dry in a towel
- Iron it dry with a suitable heat iron for the fabric
- Compare to the other dry bit of fabric
- Did it shrink? If so was it on the length/straight grain or on the width/cross grain?
- Decide whether to pre-wash your garment. You could just make your garment longer, but note that if it's shrunk on the length and you don't pre-wash, that will mean your garment may have a shorter crotch, shorter shoulder to bust/bust to waist or shorter armholes as well as body or leg length!
Fabric pre-washing guide
Check the laundry instructions on your fabric. Does it indicate a max temperature or whether it can be tumble dried, and which iron temperature can be used on it (if ironing is suitable at all - think PVC, which wouldn't be iron-able!)
Keep a note of these instructions with your fabric and item after you have made it
Wash your fabric at the temperature you plan to wash it when it's sewn into an item, like this:
The very best method - no spin!: Machine washing with NO SPIN is by far the best method for washing your fabric, as it avoids the often permanent creases (or very pesky-to-iron creases!) that come from spinning a large amount of fabric in a washing machine. Thicker fabrics like denim, cotton drill and corduroy are often so permanently creased if machine washed and spun that it can render them unusable : (
Read on for our NO SPIN washing advice.....

For NO SPIN washing you will need:
Somewhere fabric can hang and drip dry? e.g. garden, balcony or an airer over the bath. Even in the living room with a plastic sheet on the floor (bath curtain?)
A tub with no holes in it (like a storage box) that will hold your fabric after it has been washed
A washing machine that can wash it on a gentle wash cycle at the desired temperature with NO SPIN
Detergent? You don't need any detergent as your fabric is already clean (hopefully!), but you could opt to use a conditioner to soften up your fabric.
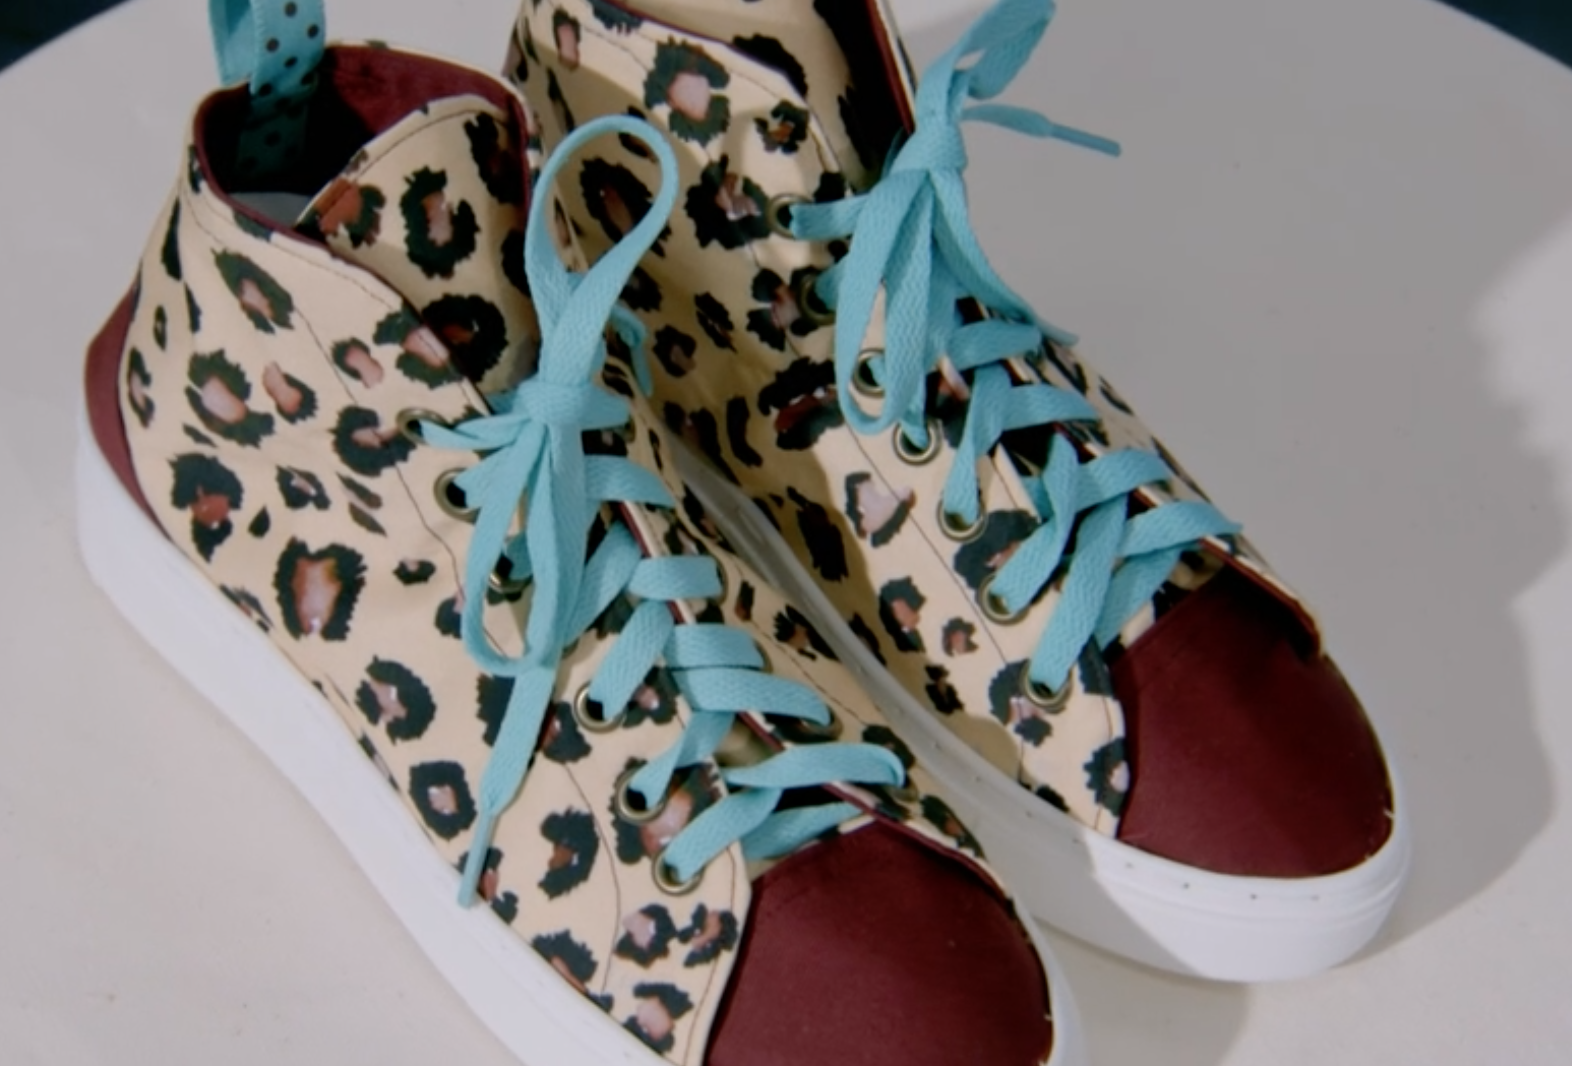
If using vintage fabric or fabric that's been stored for a long time, DO use double detergent in the drawer plus a conditioner, and set your washing machine to do a pre-wash as sometimes older fabric smells of mildew. I often soak 'vintage' smelling fabrics in a dilute white vinegar (eg 5 parts water to one part vinegar) overnight, then wash in the machine - just keep an eye on it though as if it's a print or different colour fabric pieces in one tub, they can run into each other when soaked. I partly ruined my grandmothers fab leopard print this way : (
Let's wash it!:
Set your washer following the guidelines above and check the spin is turned off. You only need a short wash if your fabric is new. Have your tub and your drying space ready. Go!
Drain and spin:
Once the washer has finished, due to not spinning it there will be water in the machine and it may be dyed a colour if your fabric lost colour on its first wash. Drain and spin the machine, so it's water- and dye-free for your next whites wash! If a lot of colour came out you might consider running a short empty wash or washing some darks next.
The second best fabric washing method - tennis balls! If you have nowhere to dry dripping fabric, pick the gentlest wash and lowest possible spin speed and if you have them, pop a few tennis balls in the machine, these help avoid creasing. Dryer balls may also help
Ironing your fabric

Tip 1: Ironing while still damp: It can be much easier to iron very slightly damp fabric (take care not to stretch it, which can happen if it's too damp). But equally, using the no-spin method, ironing should be fairly easy anyway.
Tip 2: Spray bottle/spray function on iron: This is your friend when it comes to creases, especially on 2 dots with no steam. We have a spray bottle with water in it on our classroom ironing station
Once your fabric has almost dried/dried, iron it on the WRONG SIDE (the reverse, to avoid flattening the fibres and creating possible shininess).
Use the iron temperature indicated on the fabric.
If in doubt, try it on 2 dots on a corner, and check there's no burning smell. On 2 dots use no steam (you can only use steam with 3 dots otherwise it's just water).
You could then gingerly test it on 3 dots if it was fine on 2 dots. Generally if your fabric has man-made fibres it needs to be ironed on 2 dots/no steam.
For 100% cotton, go for it at max temperature with steam.
Let it cool before folding or rolling ready for your sewing project
Happy sewing!


")
")


 .
. 


