Blog post: Episode 3 - The Great British Sewing Bee 2022
Posted on
Sadly this is the last week of my Sewing Bee Blog as I'm heading off on a field trip abroad where I can't get BBC at all..booo! However, our friends over at Sew Essential are running a blog and emails following the Bees for the whole series - join them here. They sell a fantastic range of patterns and fabric too.
Hope to see you in a sewing class soon! All the best, Claire x
17th May 2022
THE GREAT BRITISH SEWING BEE - EPISODE 3
Written by Claire Nilles, Marketing Assistant at Sew In Brighton Sewing School and Improver level self-taught sewer
For anyone new to this blog post, Sewing Bee has nothing to do with bees but as you may have guessed it has everything to do with sewing! Just like last week (you can find the second blog post here), I will be recapping this week’s episode and giving you some ideas of how to try the different challenges at home - or you can bring them to our ‘Stitch! General Sewing/Dressmaking Classes - any level/project’.
If you are wondering where and when the Sewing Bees sew - the show airs every Wednesday at 9pm on BBC1.
SUMMER WEEK
We are back with this week’s blog post! Wondering what’s on the menu this week? Flowers have started to blossom, BBQs have been pulled out of the shed, it’s SUMMER! The Sewing Bees channelled and celebrated everything summer on this week’s episode.
-
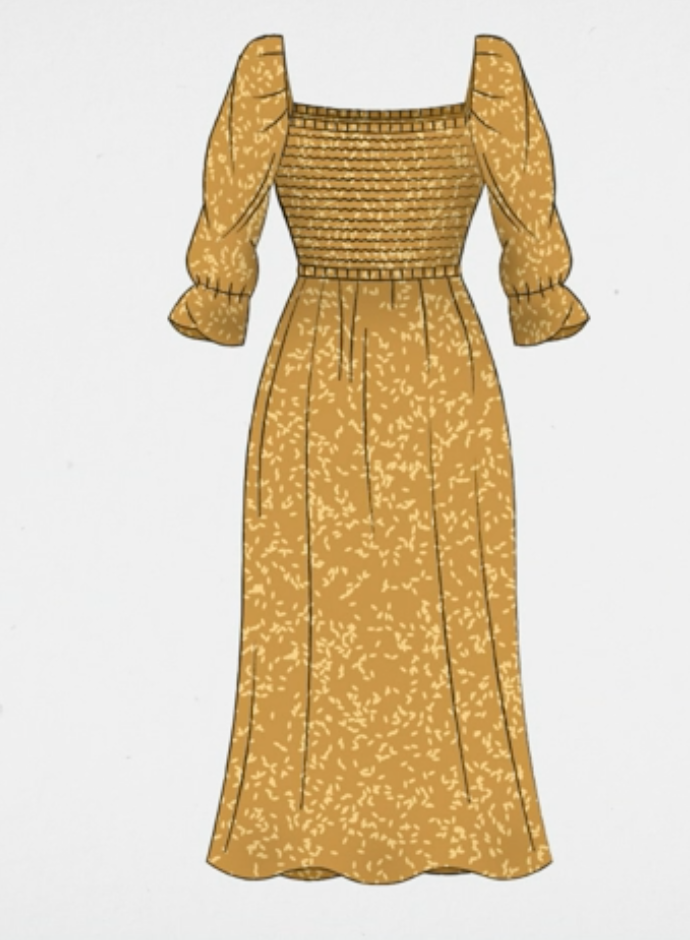
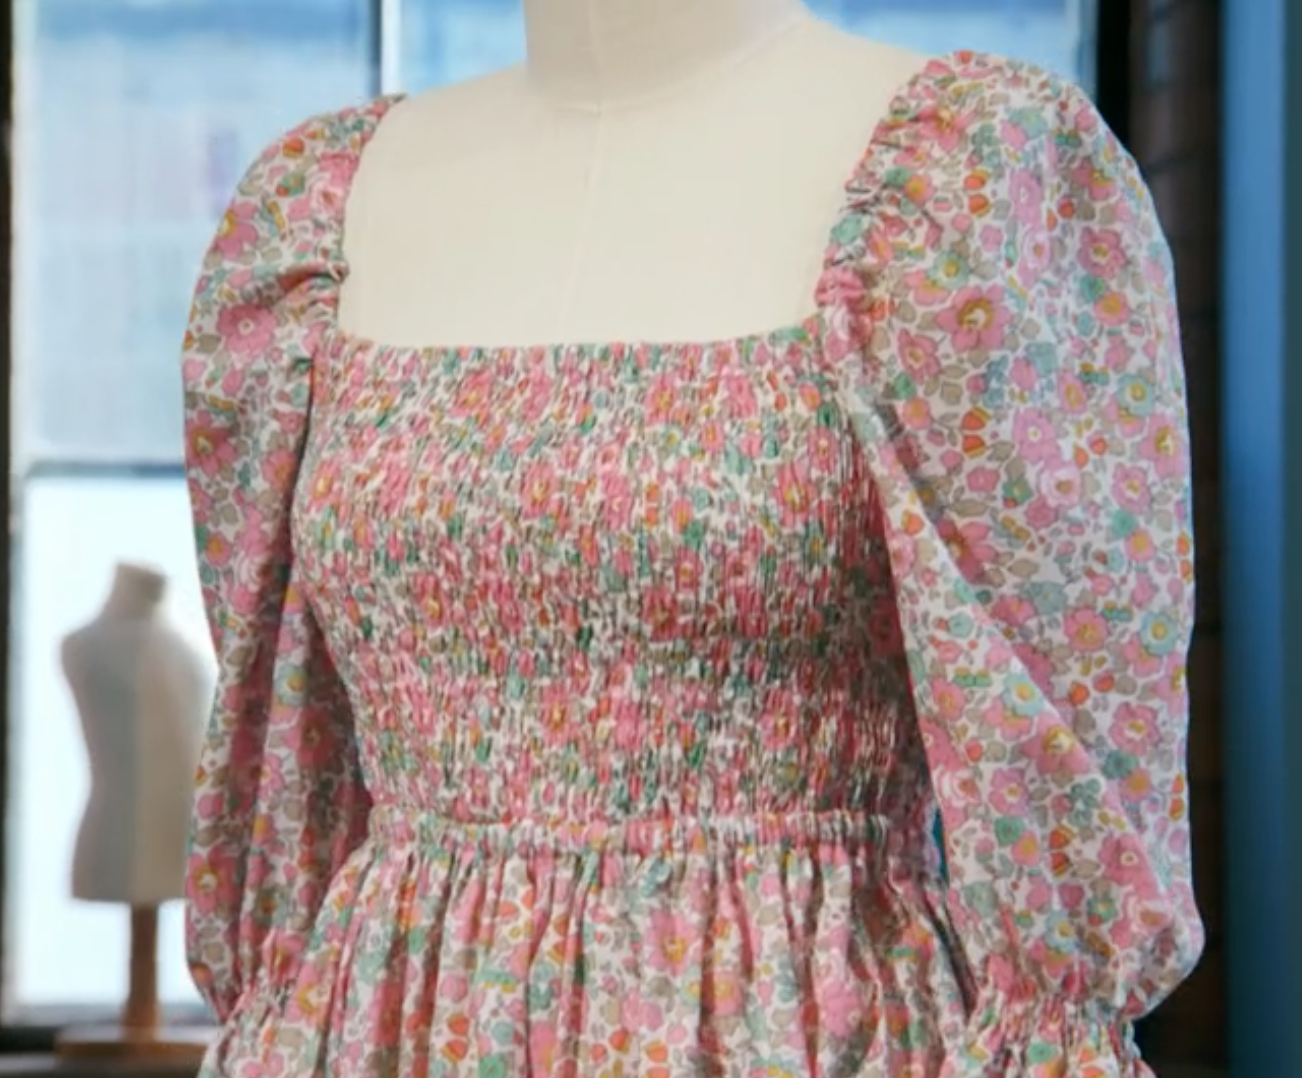
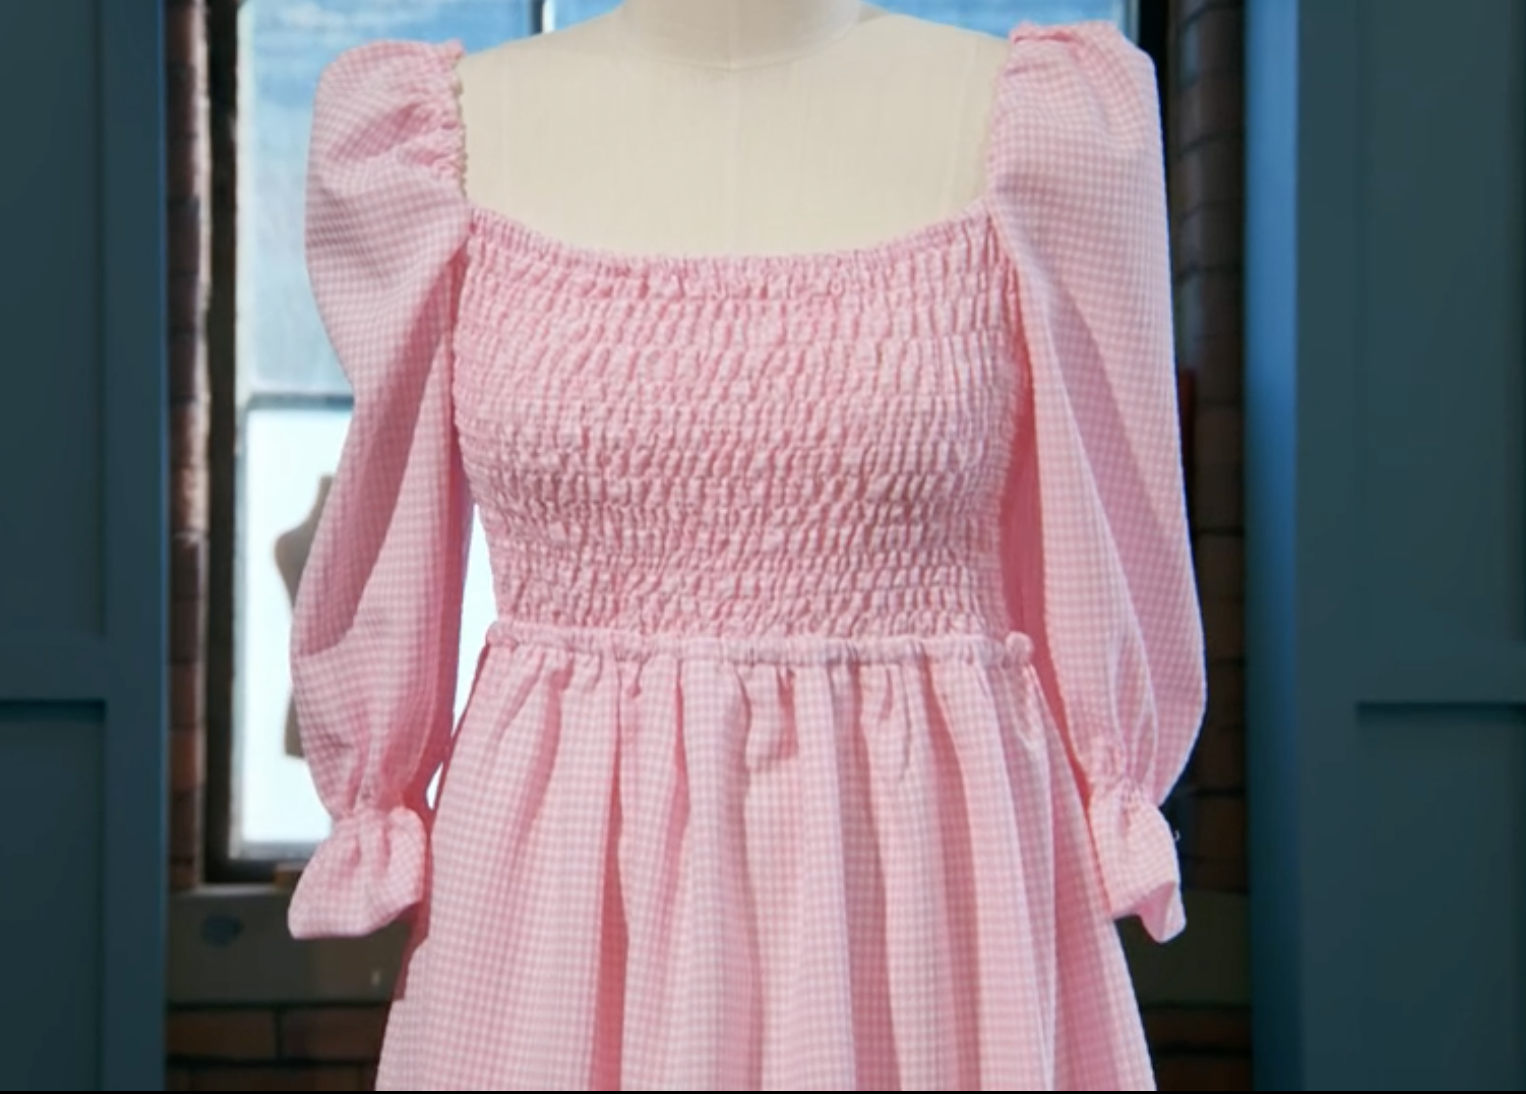
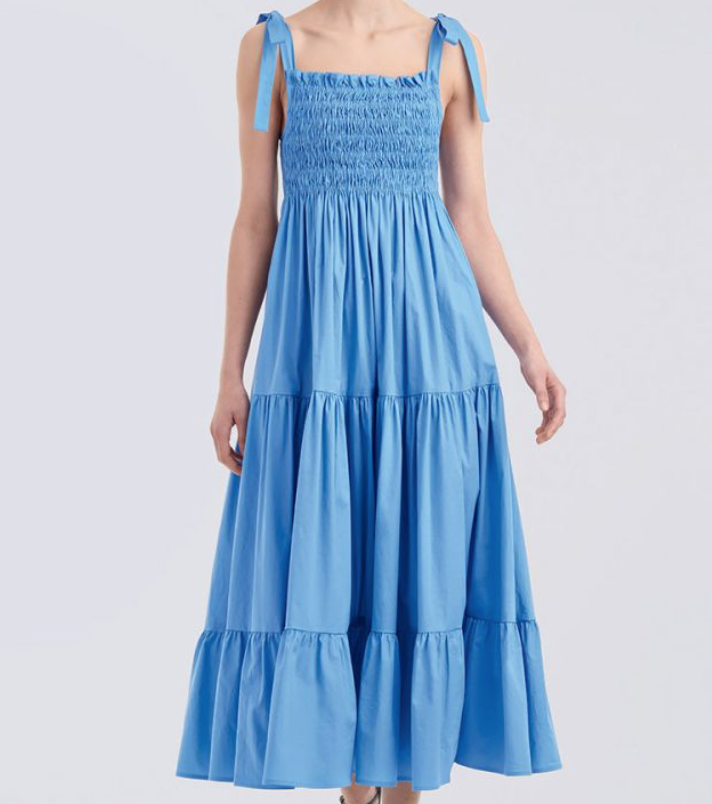
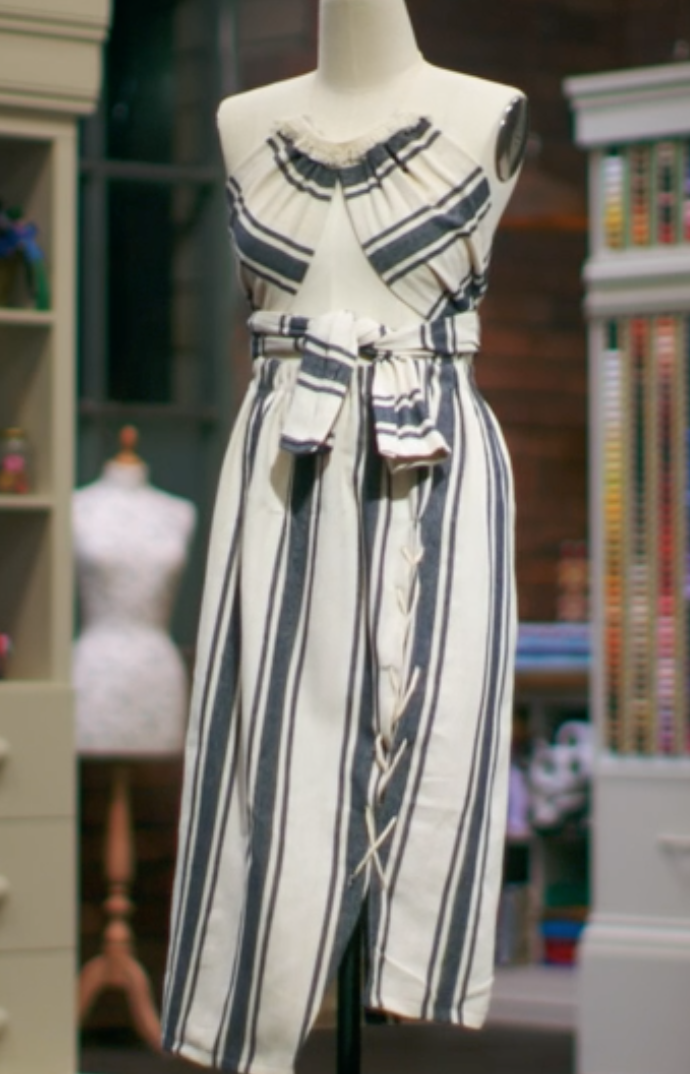
THE PATTERN CHALLENGE - Shirred Midi Dress
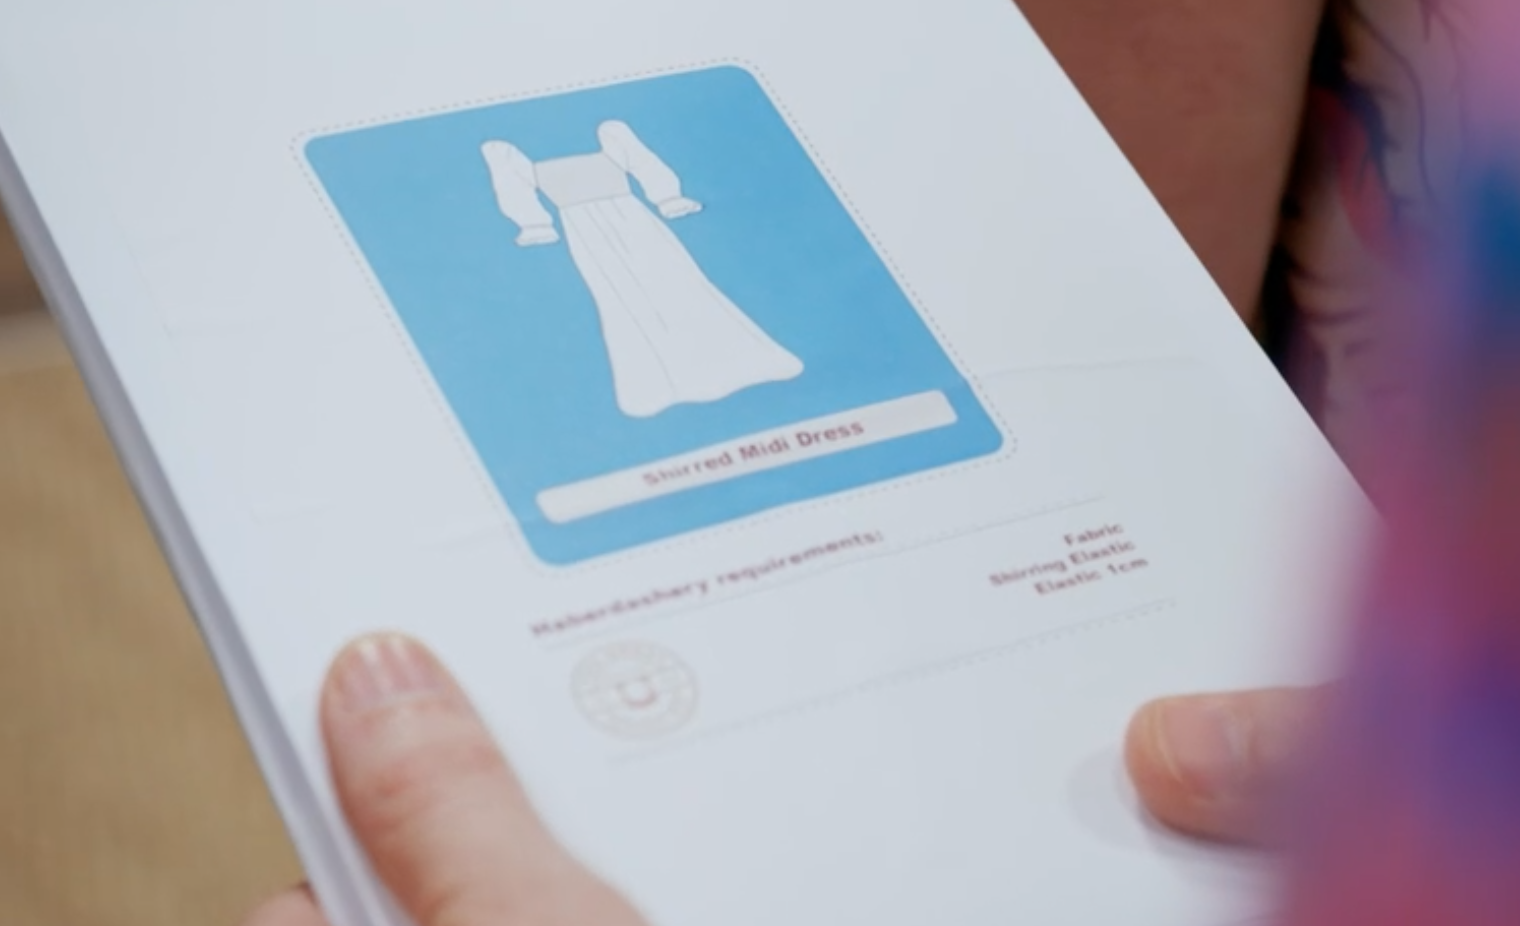
This week’s task was to make a shirred midi dress as depicted in the picture above. Esme Young (one of the judges) gave clear instructions: pig puff sleeves, the body needs to be shirred (more on shirring below!). The sleeves should be gathered and the dress should be midi length. A tip given here by Patrick Grant: it is important to choose fabric appropriate to the season and to take into consideration how the fabric will look once it’s shirred. The idea is to use lightweight fabric that will gather nicely. The Sewing Bees were given 3.5 hours to work their magic!
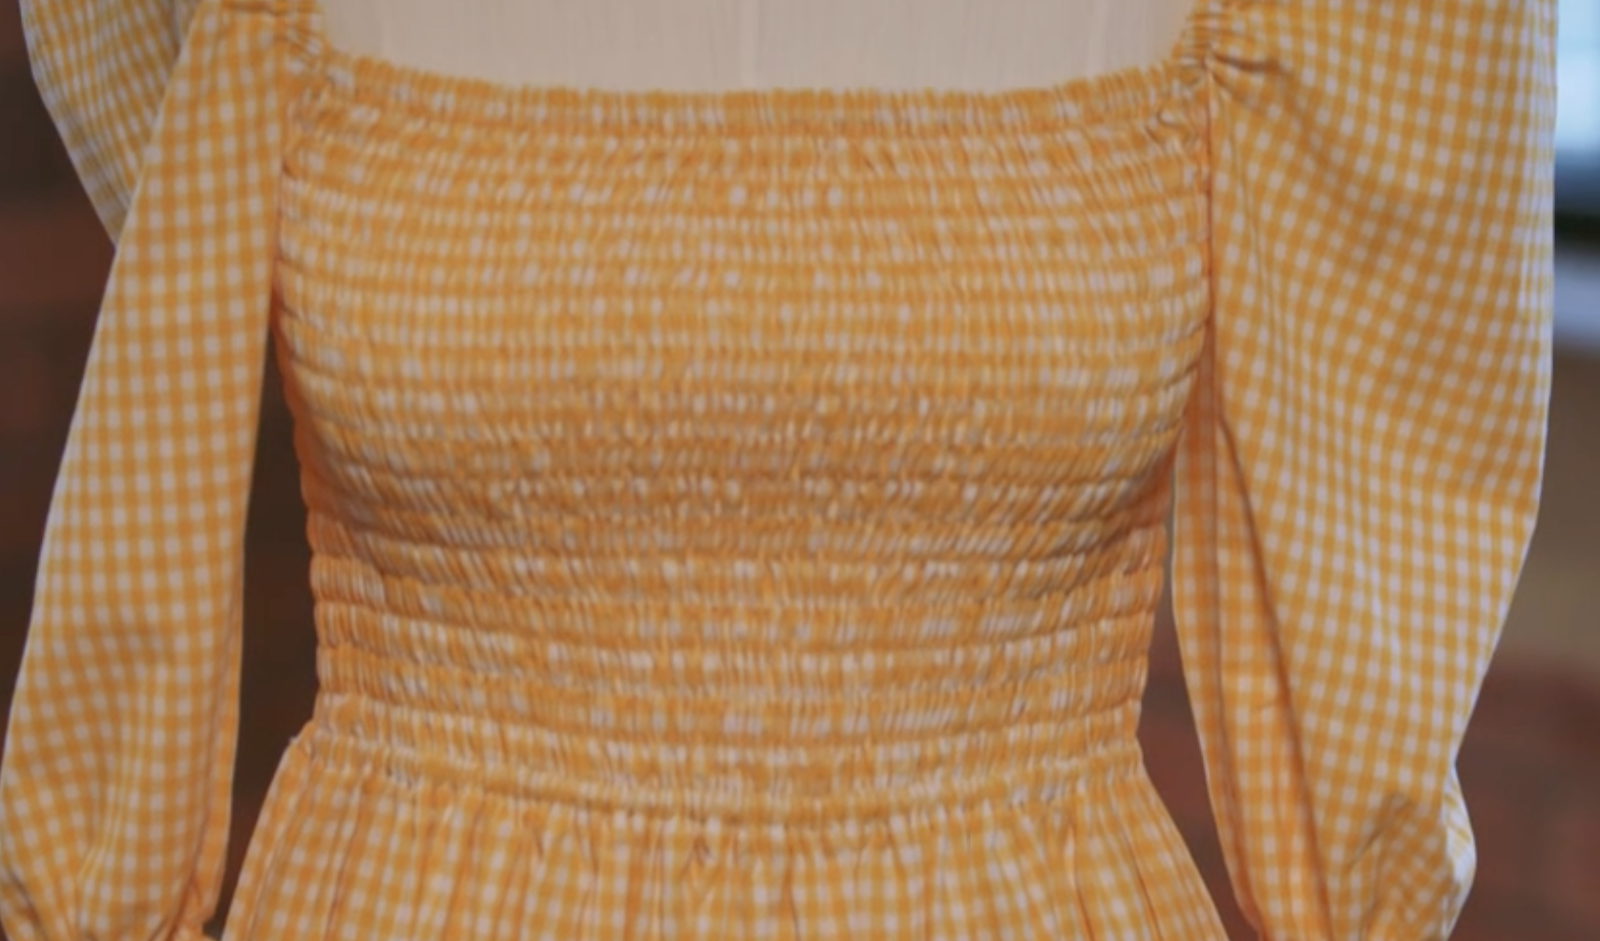

The whole shape of the body is coming from the tension within the elastic on the shirred section.
Now the question that some of you might have is: what is shirring?
So you essentially sew with elastic on the bobbin underneath and thread in the needle on top. As you are sewing it gathers the fabric up, making the fabric elasticated - so you can stretch it out again when wearing it. It is very important to get the tension right here, use a long stitch (stitch length 4), sew the rows of shirring straight with the spacing even.
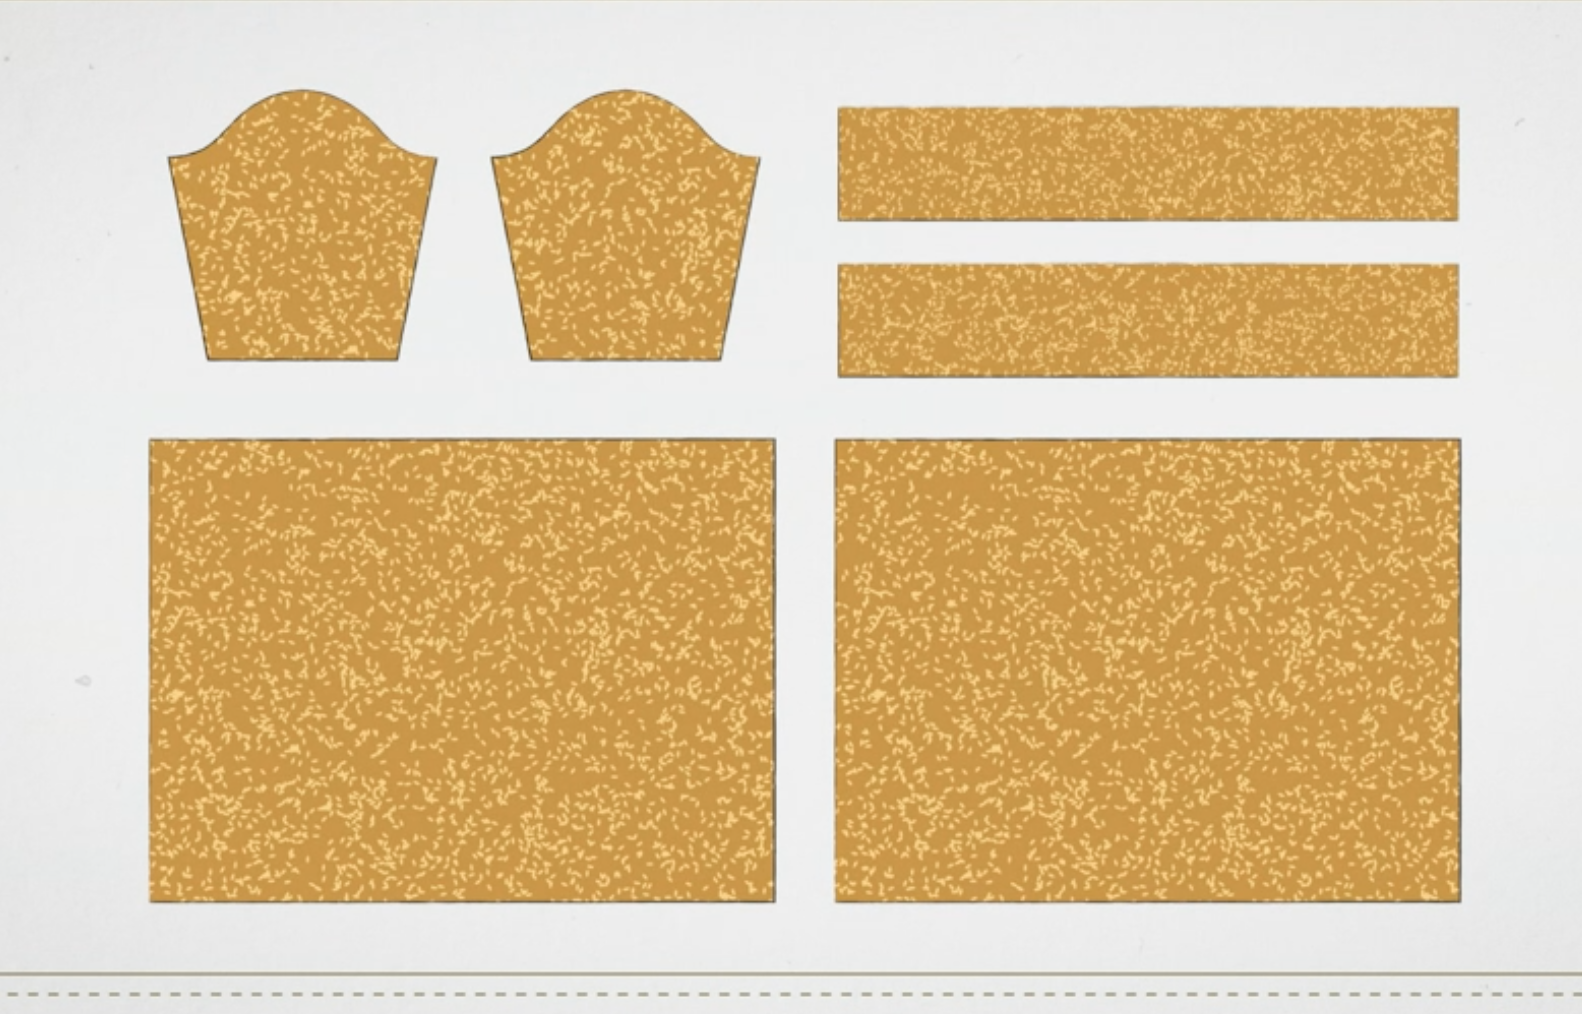
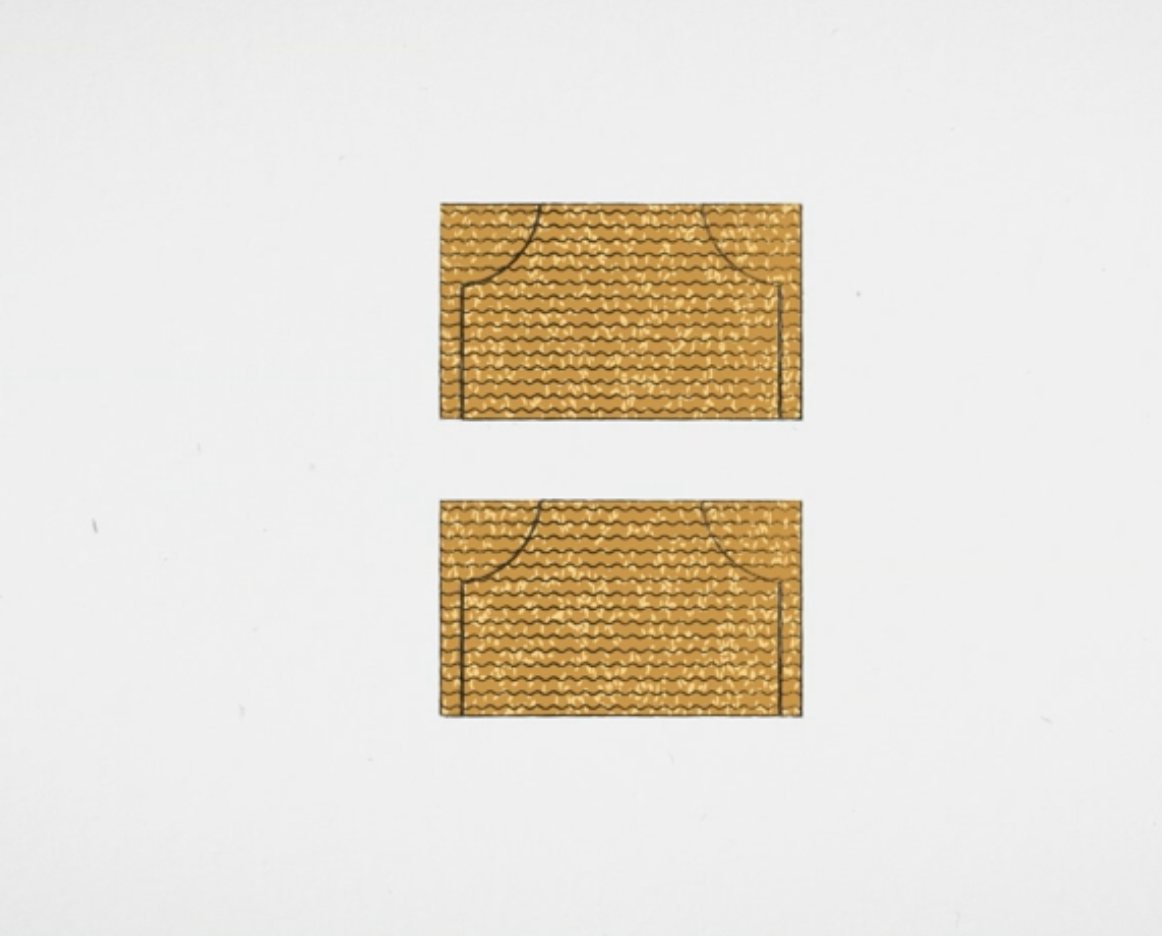
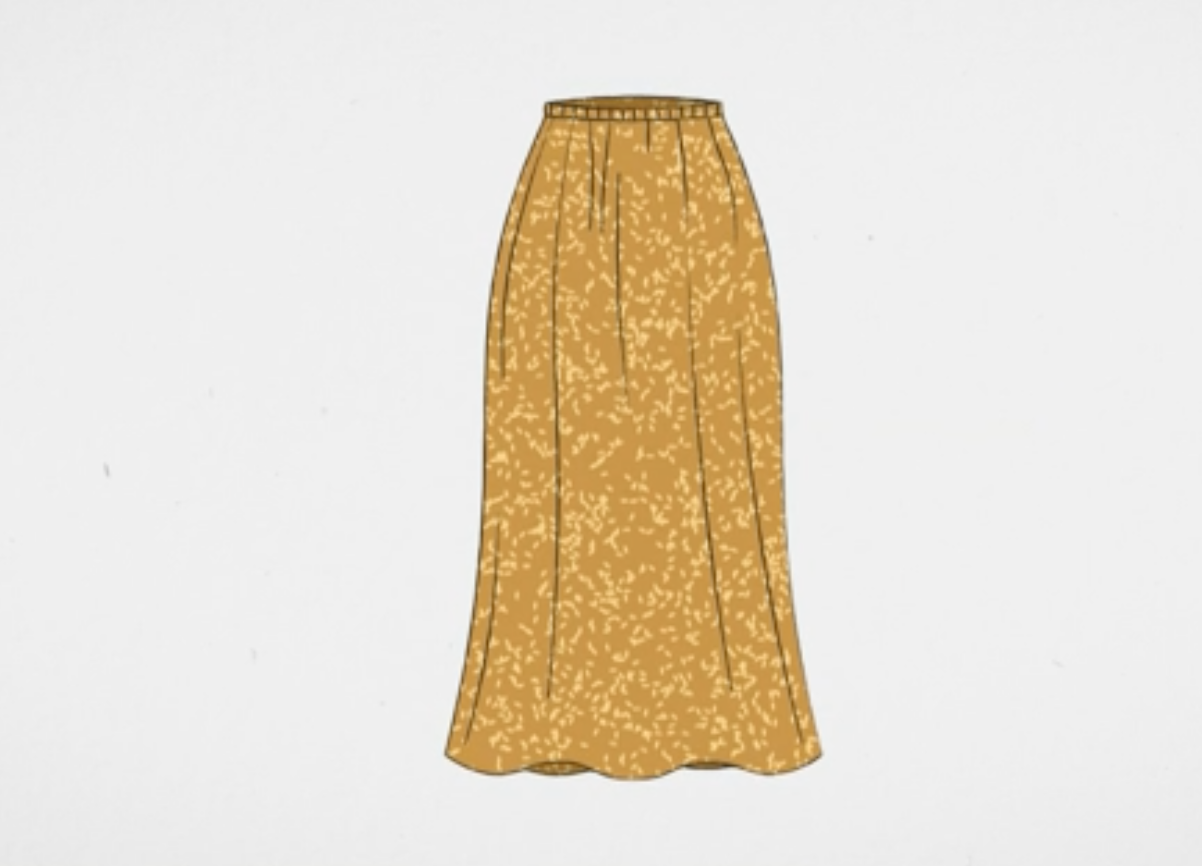
The front and back pieces are gathered with 15 lines of parallel shirring. This body is then sewn together at the side seams. The bottom part is sewn together and an elastic is inserted at the waist (which is a bit tricky as you might end up sewing on the elastic which takes the stretchiness away).
The sleeves are shirred at the cuffs and elastic is attached at the shoulder and as a final step they are attached to the body.

Sounds very straight forward, let’s see what the Sewing Bees got up to?
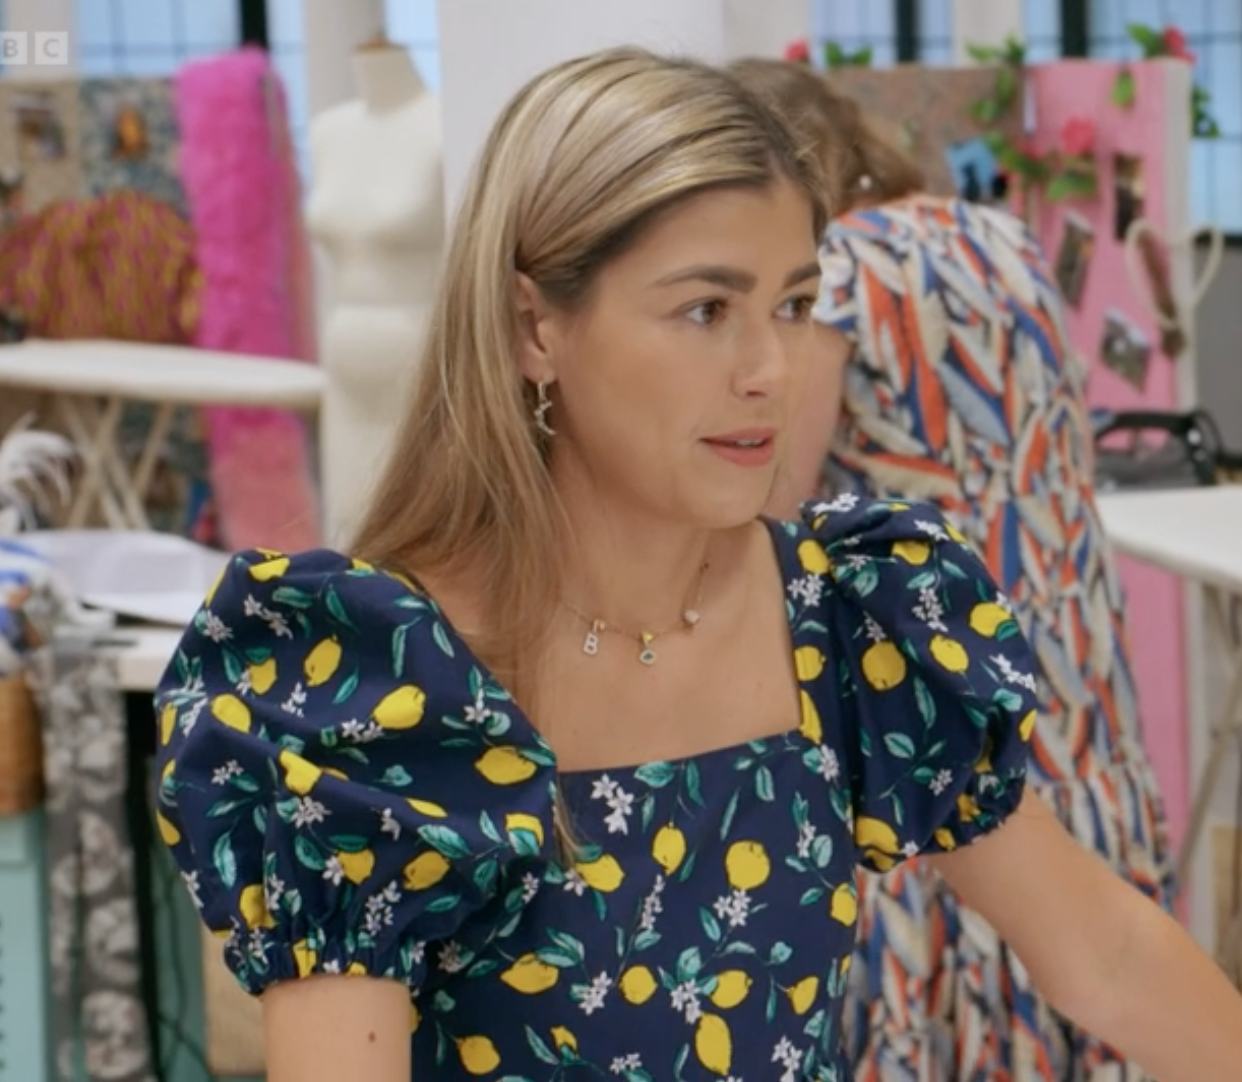
Wearing matching puffed sleeves to this week’s first challenge, the shirred midi dress was right up Brogan’s alley.
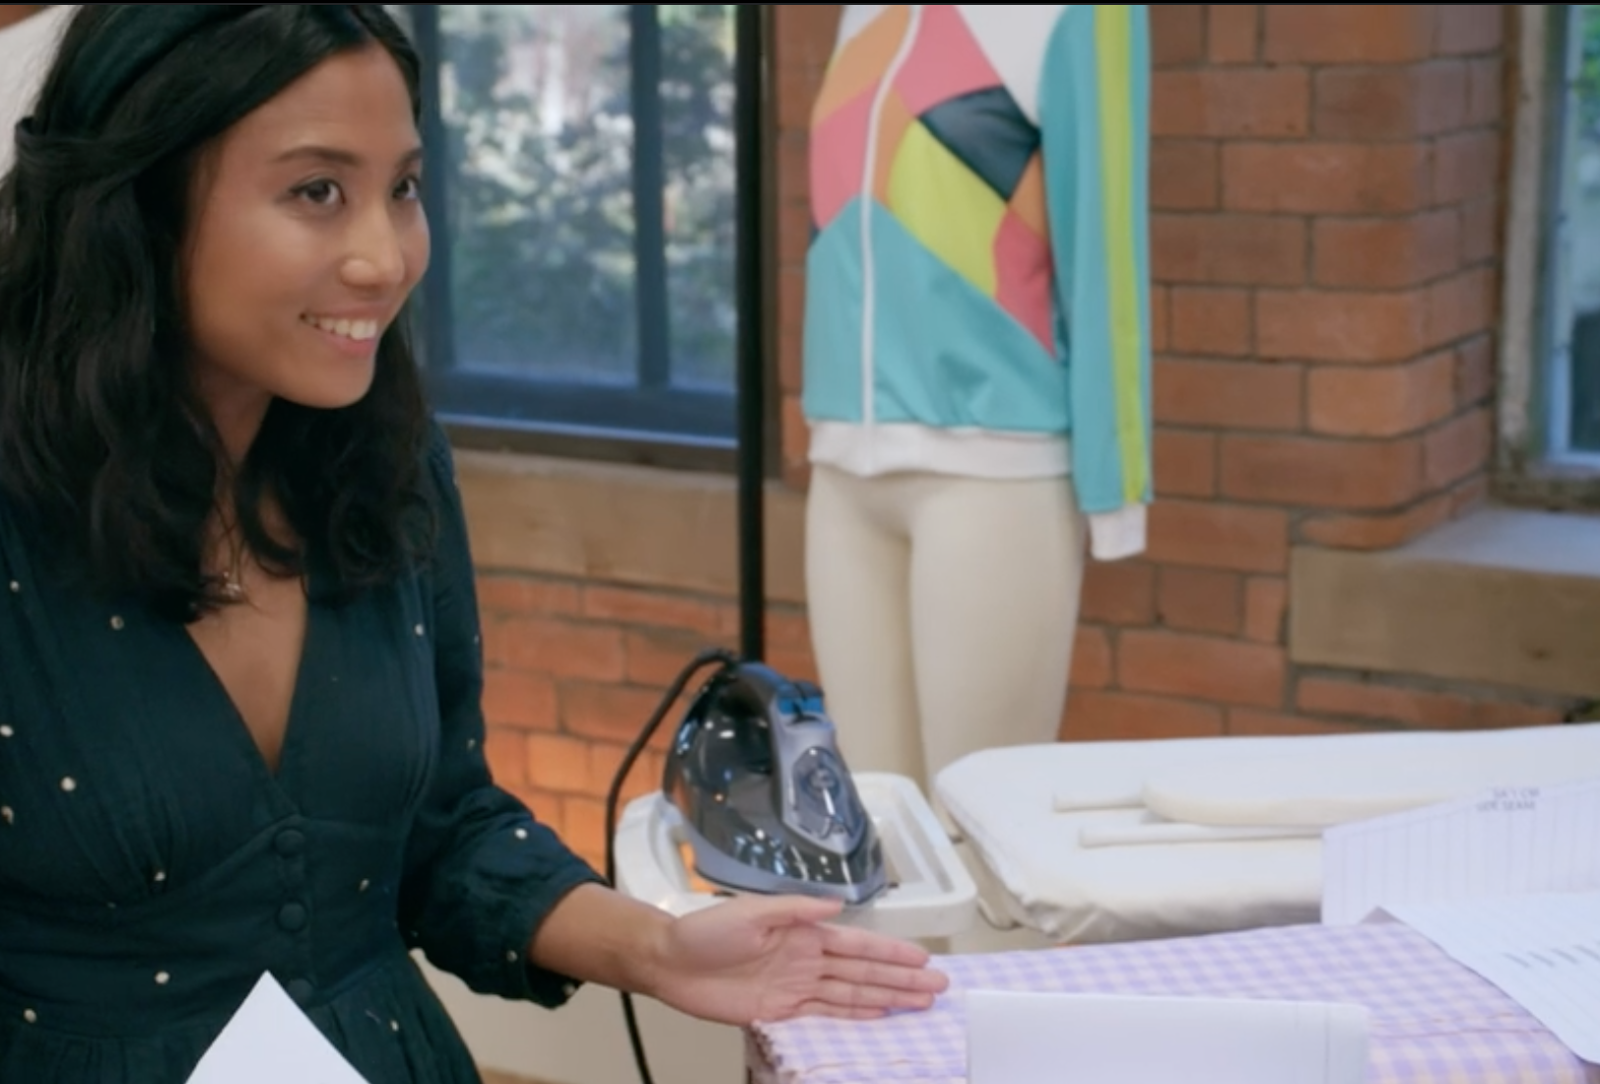
Man Yee is tricking the system by using fabric that has already got straight lines. Clever! This definitely helped her get some straight shirring on the body part done by just following the lines.
The Sewing Bees quickly realised that if the tension on your sewing machine isn’t high enough, the result will be no shirring… Some had their tension on 7!
If you are reading this and wondering how on earth to adjust tension and stitch length, you sound like a candidate for our Learn to Use a Sewing Machine course, on which you will learn these and all the other essentials of machine sewing! You can learn the same in Stitch Classes - we can also show you how to do shirring in Stitch Classes - more ideas on this below.
End results of the first challenge - 10 Shirred midi dresses:
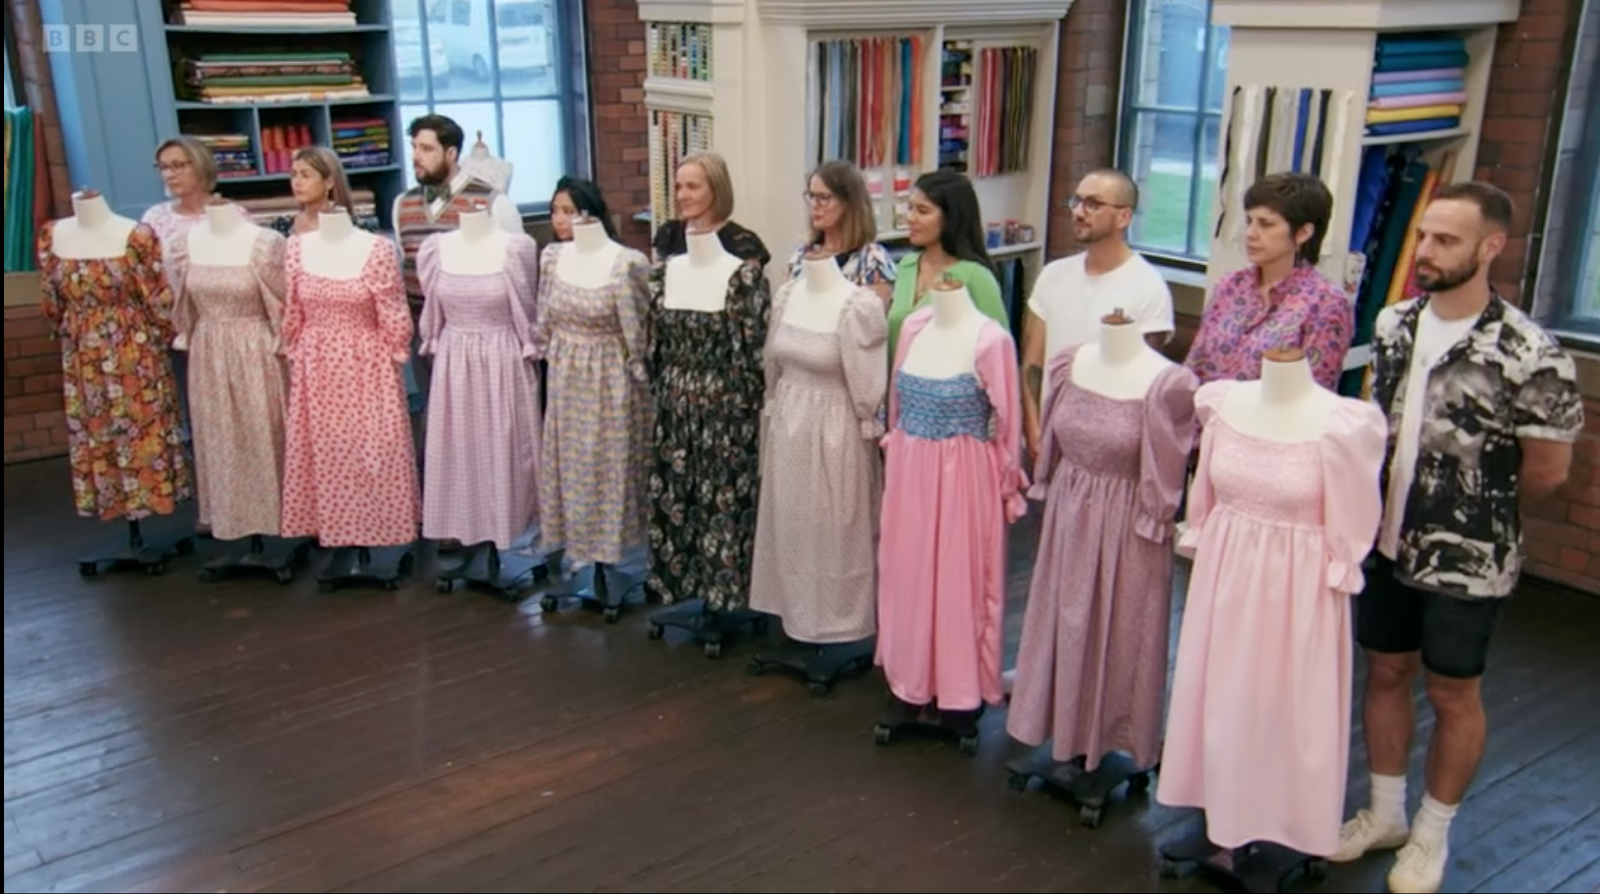
Here are some of their dresses close-up:
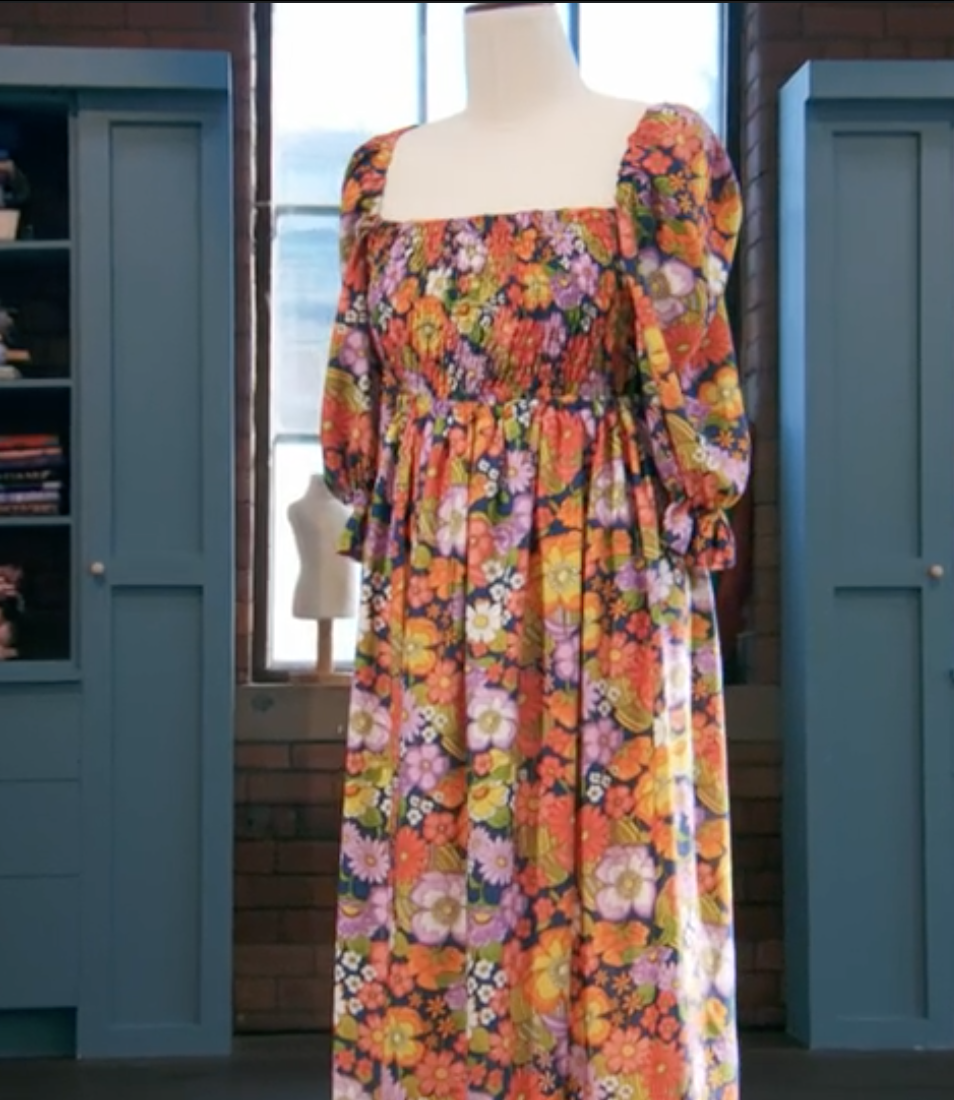
Brogan’s dress. Angela’s dress.
Cristian’s dress.
Who clinched gold this week? It’s Brogan, of course :)
Now onto the fun bit, some patterns that you can use to sew your very own shirred midi dresses at home or in some of our ‘Stitch! General Sewing/Dressmaking Classes - any level/project’ at the Sew In Brighton classroom in Hove. Contact us if you need help working out how many classes to book for your project/pattern.
PATTERNS:
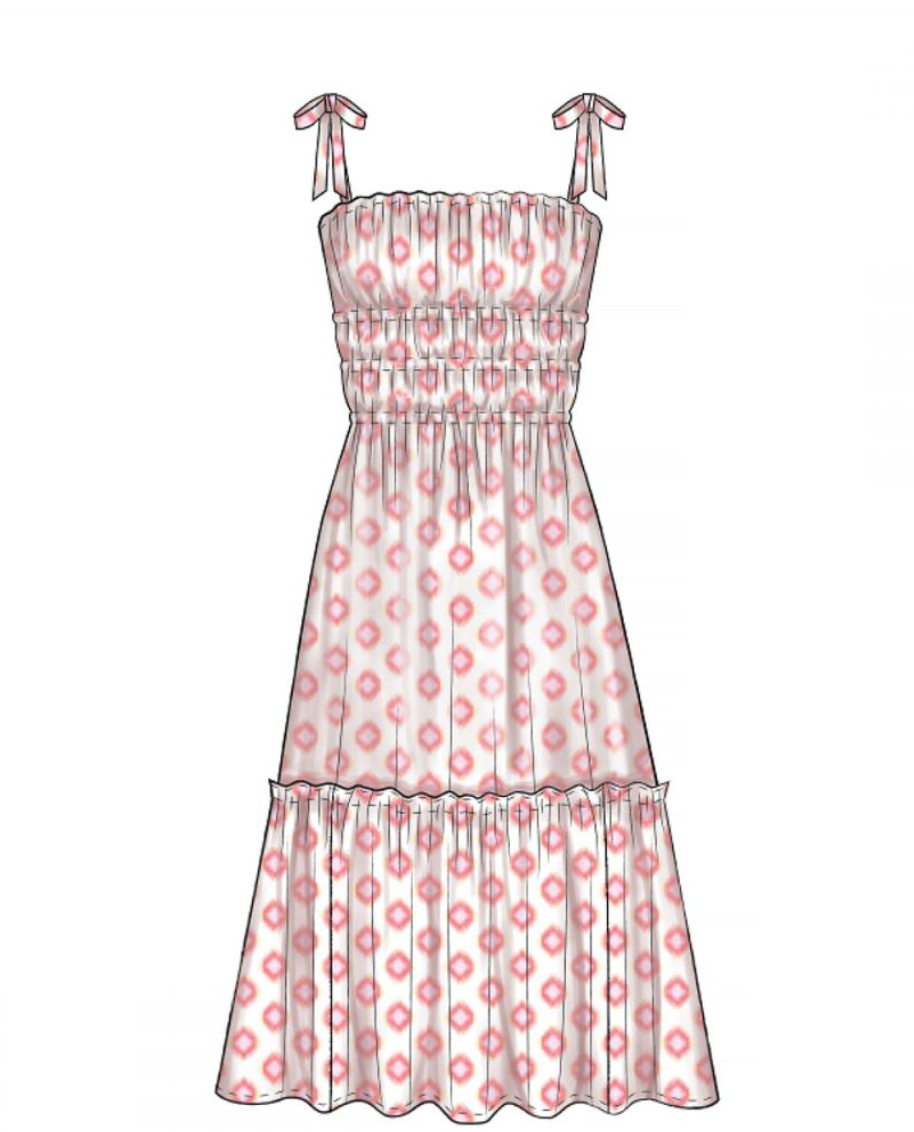
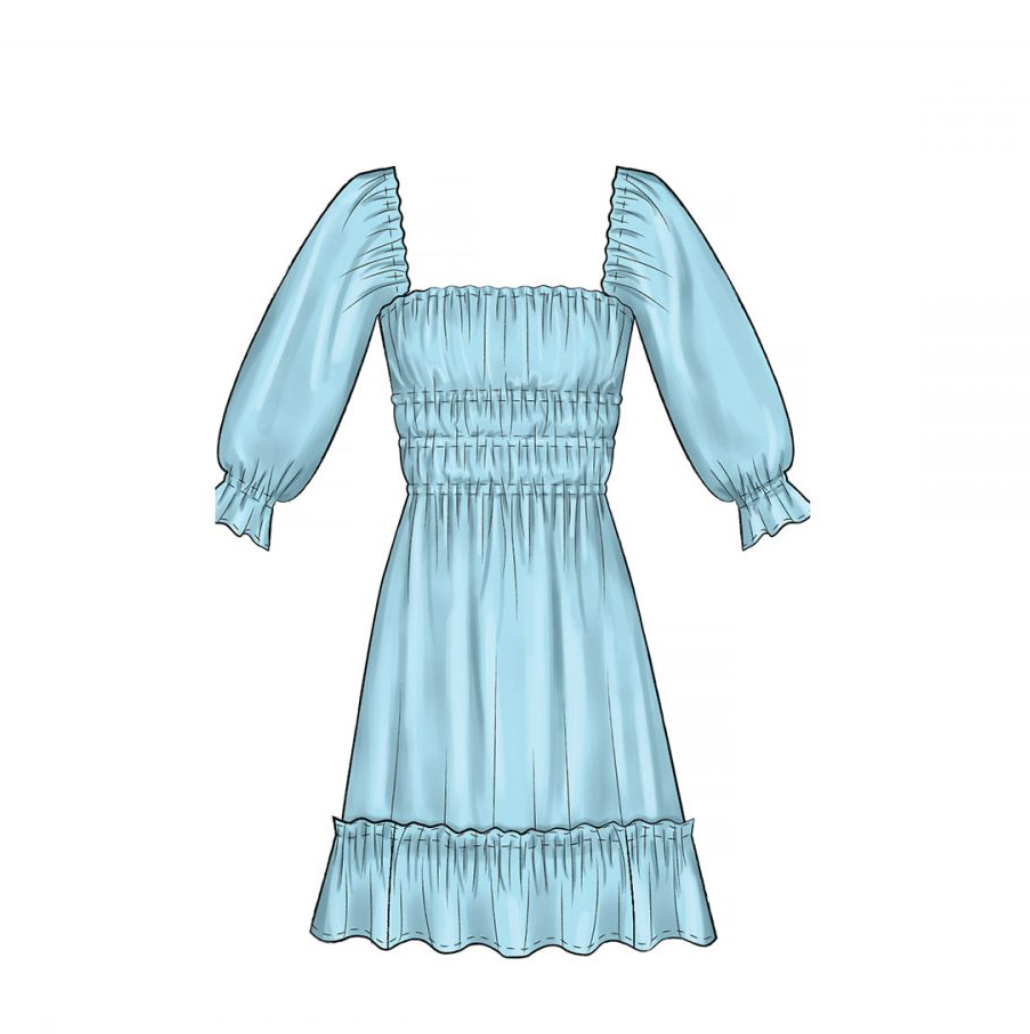
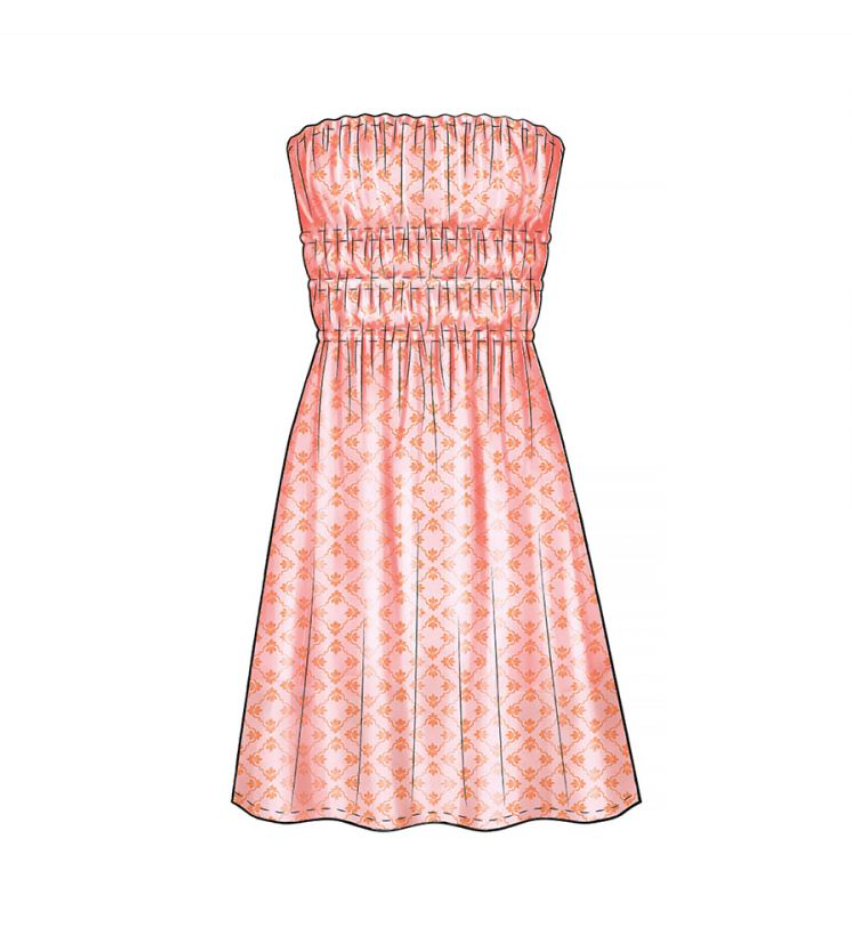
The patterns for these 3 different dresses can be found here:
https://www.sewessential.co.uk/misses-dresses-mccalls-pattern-m7946
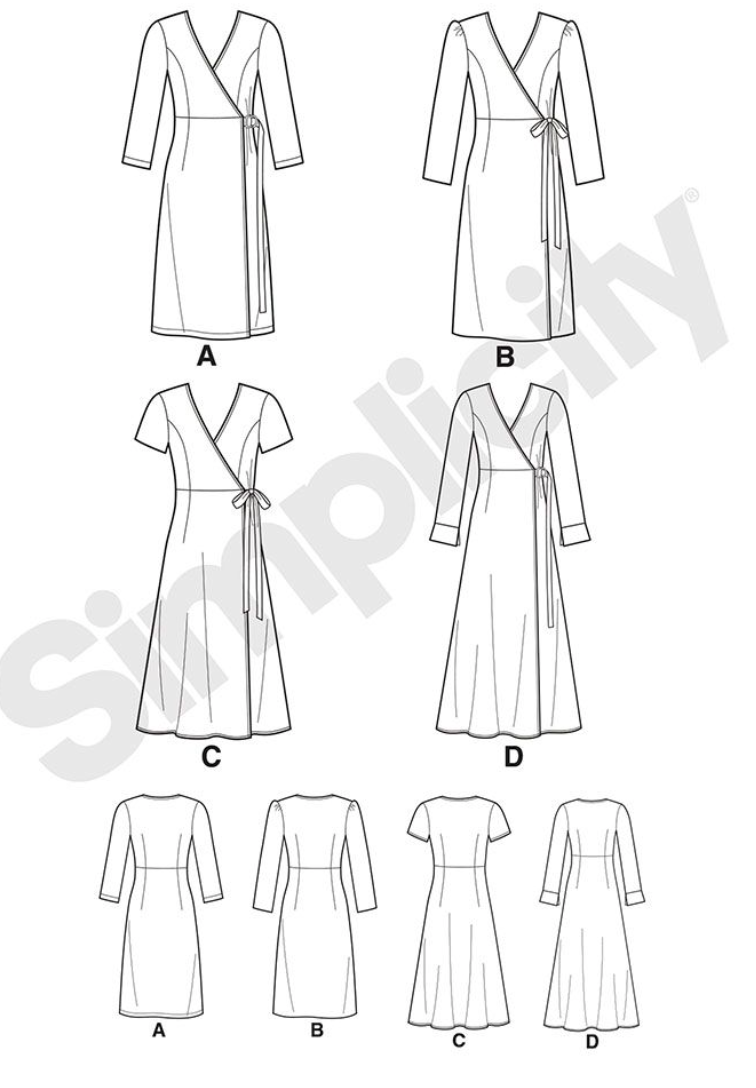
Here is another one:
https://www.sewessential.co.uk/misses-dress-with-shirred-bodice-simplicity-pattern-9141
Or if you prefer to make a jumpsuit:
https://www.sewessential.co.uk/misses-womens-dresses-jumpsuit-mccalls-pattern-8209

General tips when applying the shirring technique:
-
Use cotton mix fabric, fairly lightweight - you can get in a wide range of colours at Sew Essentials website
-
You will need some shirring elastic, which you can get in either black or white,
-
as well as ordinary polyester or cotton sewing thread.
TIP HERE:
Don’t try and wind the bobbin in the usual way with the sewing machine, but hand wind the shirring elastic onto the bobbin making sure you don't stretch the elastic as you wind it!
Also:
Make your stitch length longer than usual, stitch length 4 and you may also need to adjust the tension. Test on scraps of your fabric until you are happy with the results.
You don’t need to push or pull the fabric, just let elastic do its job and sew in the normal way.
NEXT UP:
-
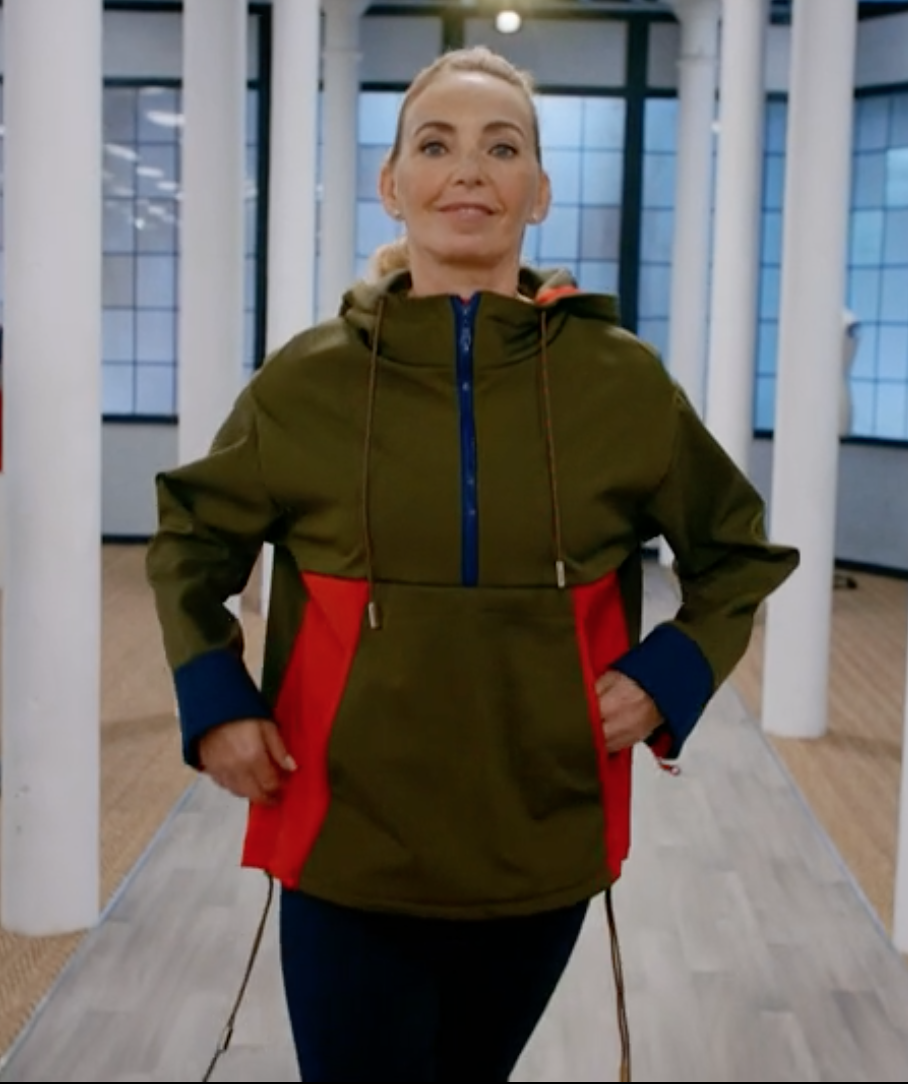
THE TRANSFORMATION CHALLENGE
This week the Sewing Bees had to turn old hammocks into adults’ summer garments. Additionally they were given fringing, rope and macrame they had to work incorporate into their very own designs.

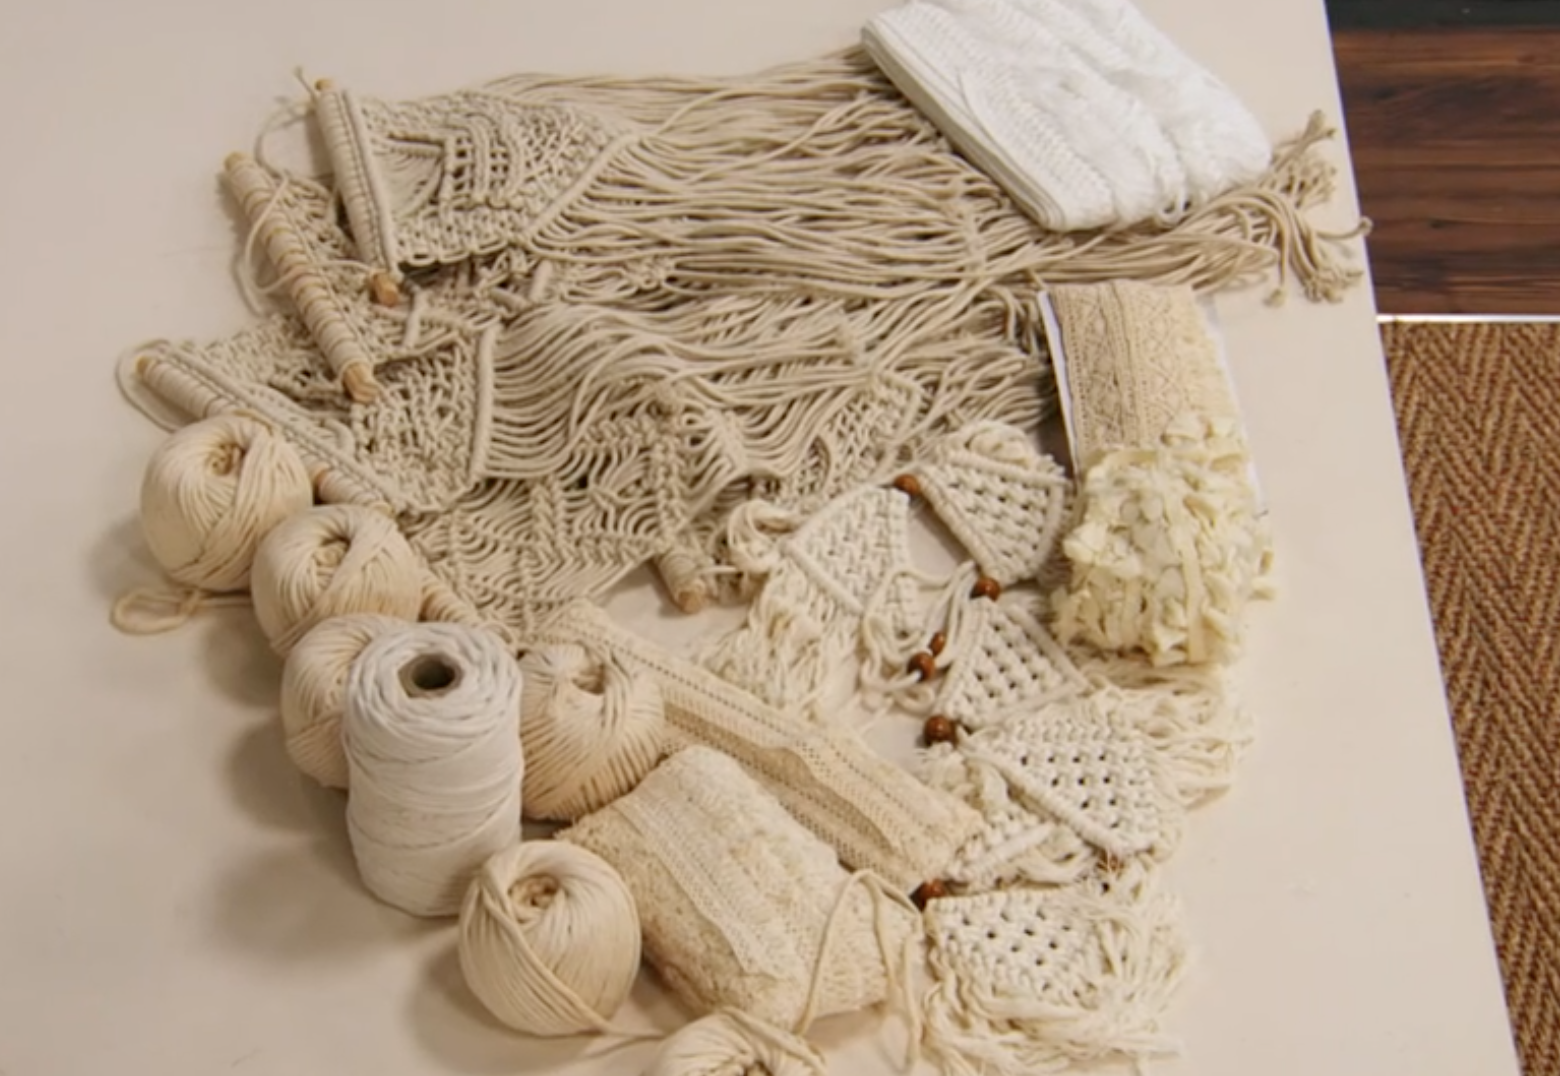
Here are some inspirations from the Bees on how to transform your old hammock that’s been lying in back garden shed, into a nice garment:
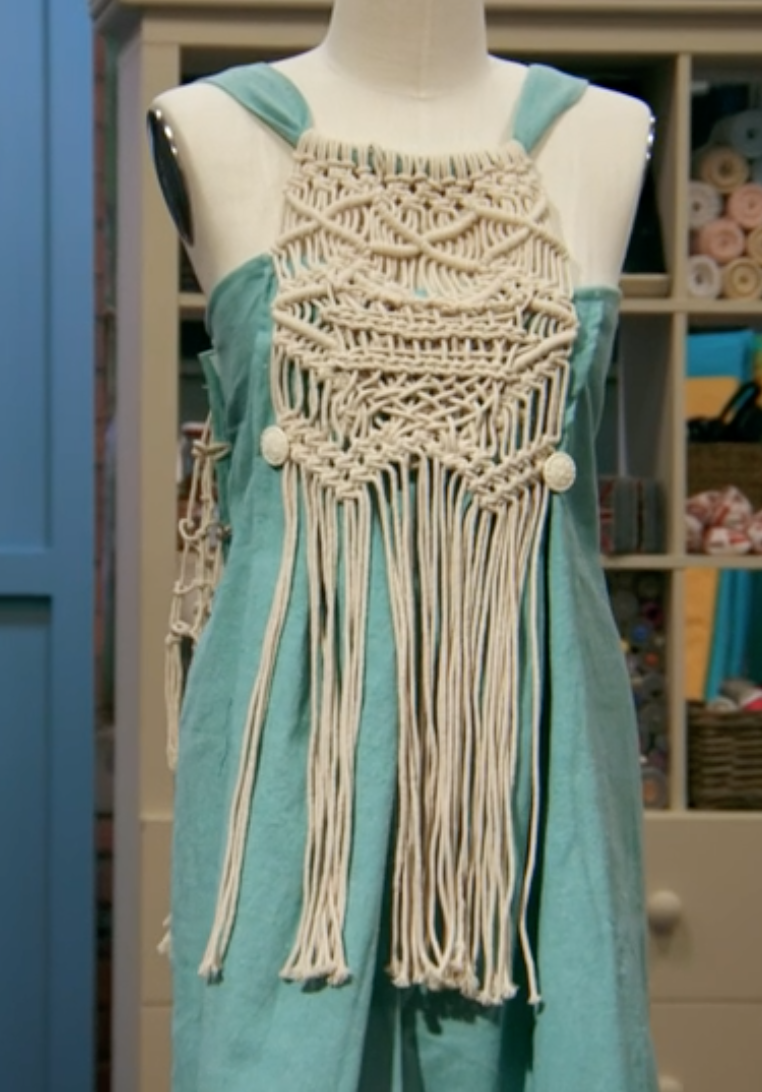

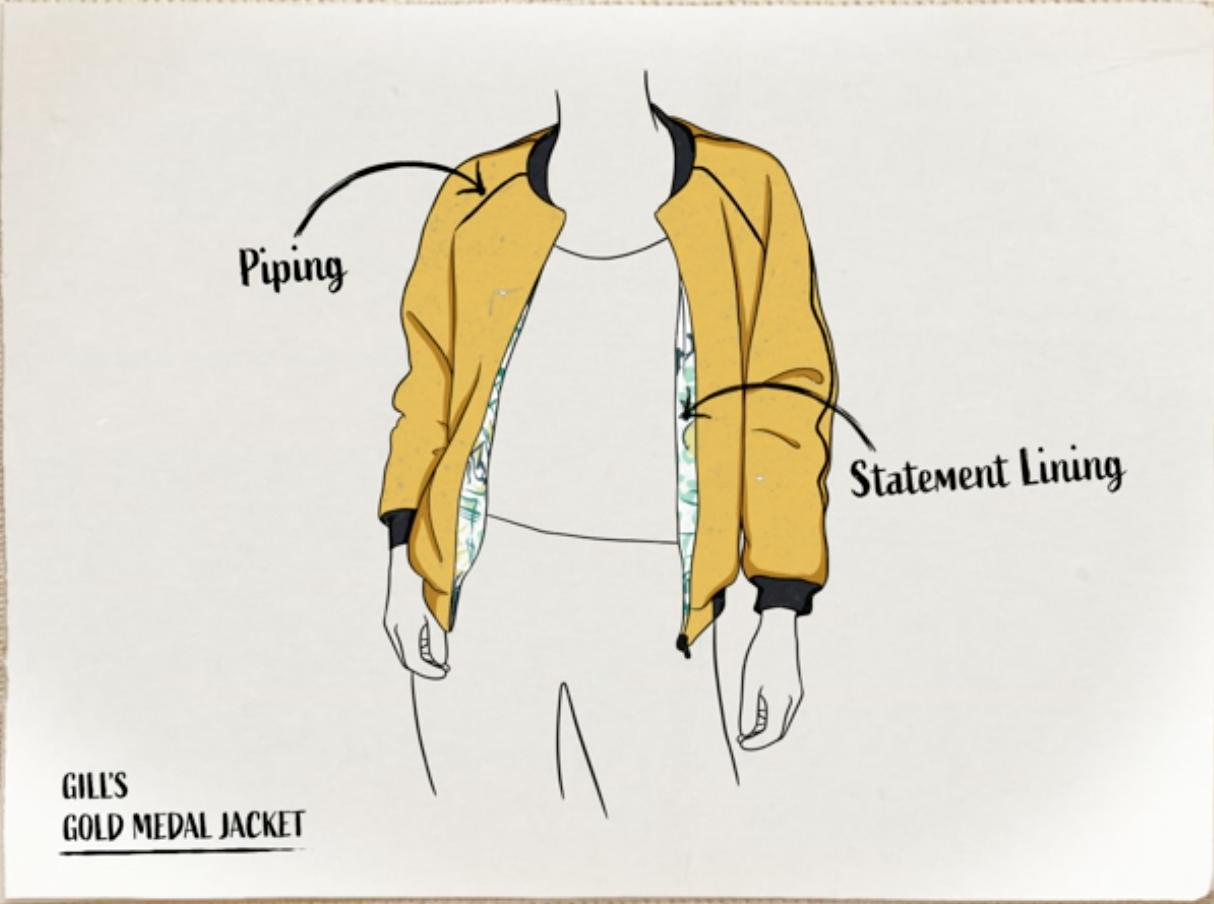
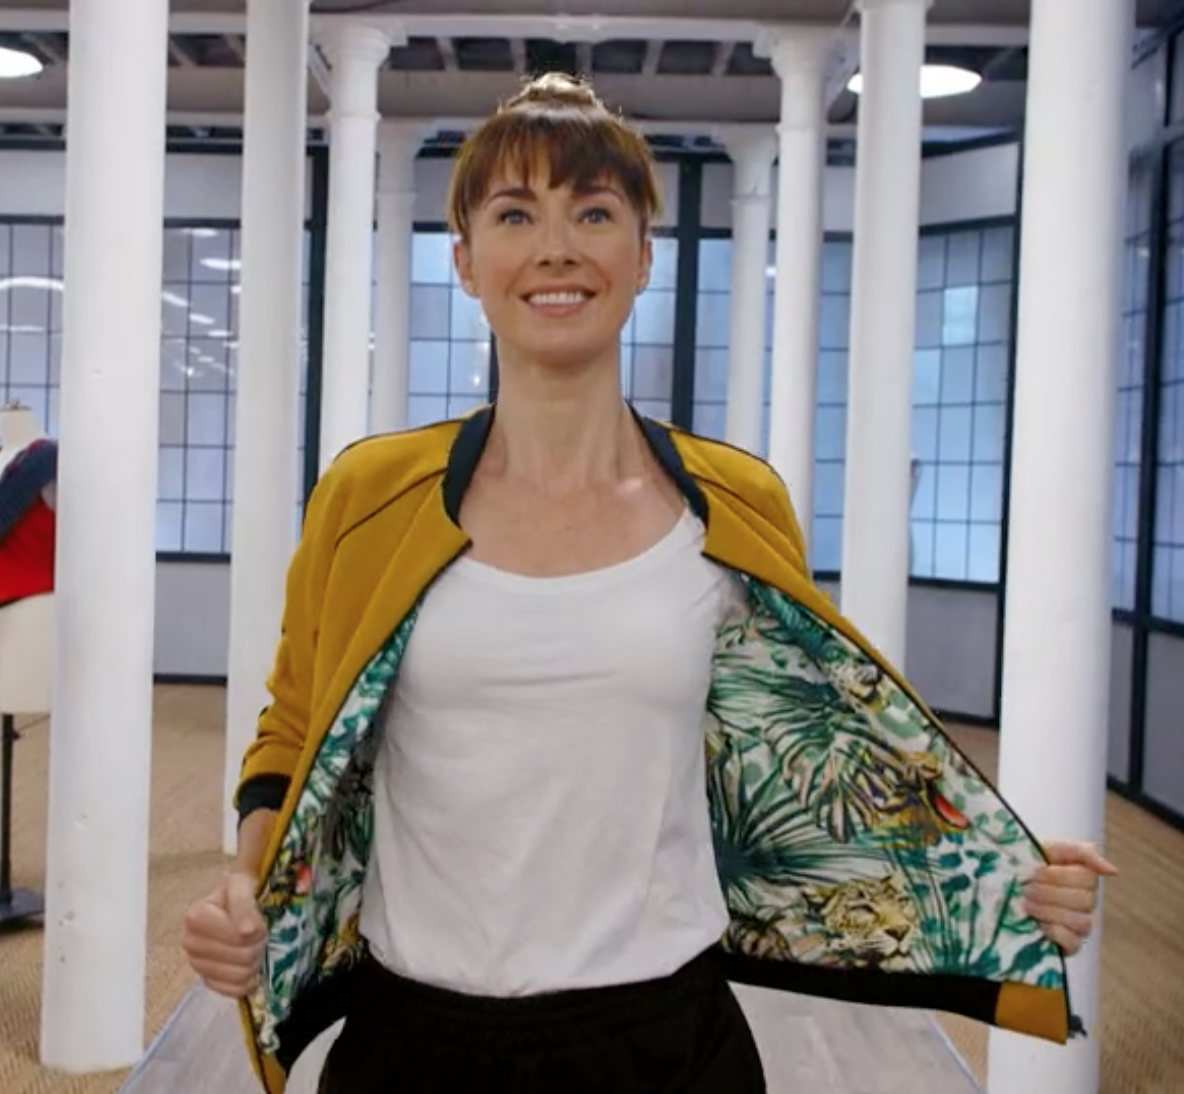
Angela’s winning macrame dress. Cristian’s festival summer jacket.
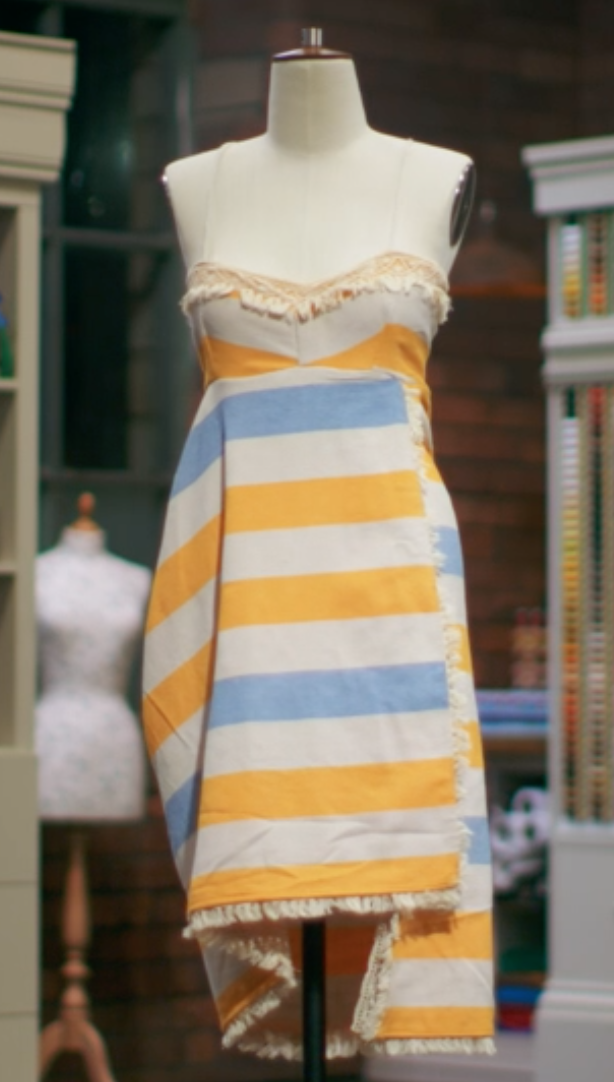
Annie’s beach dress and Brogan’s jumpsuit.
-
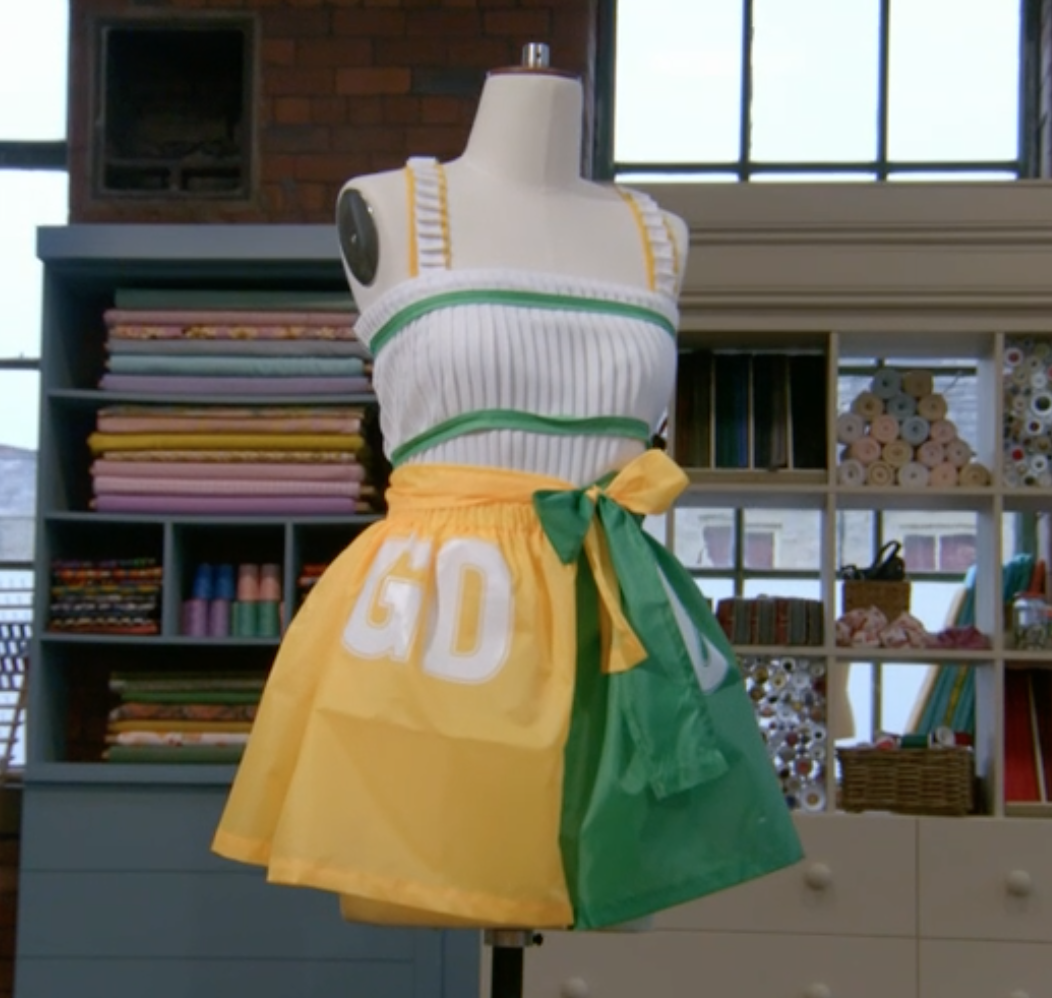
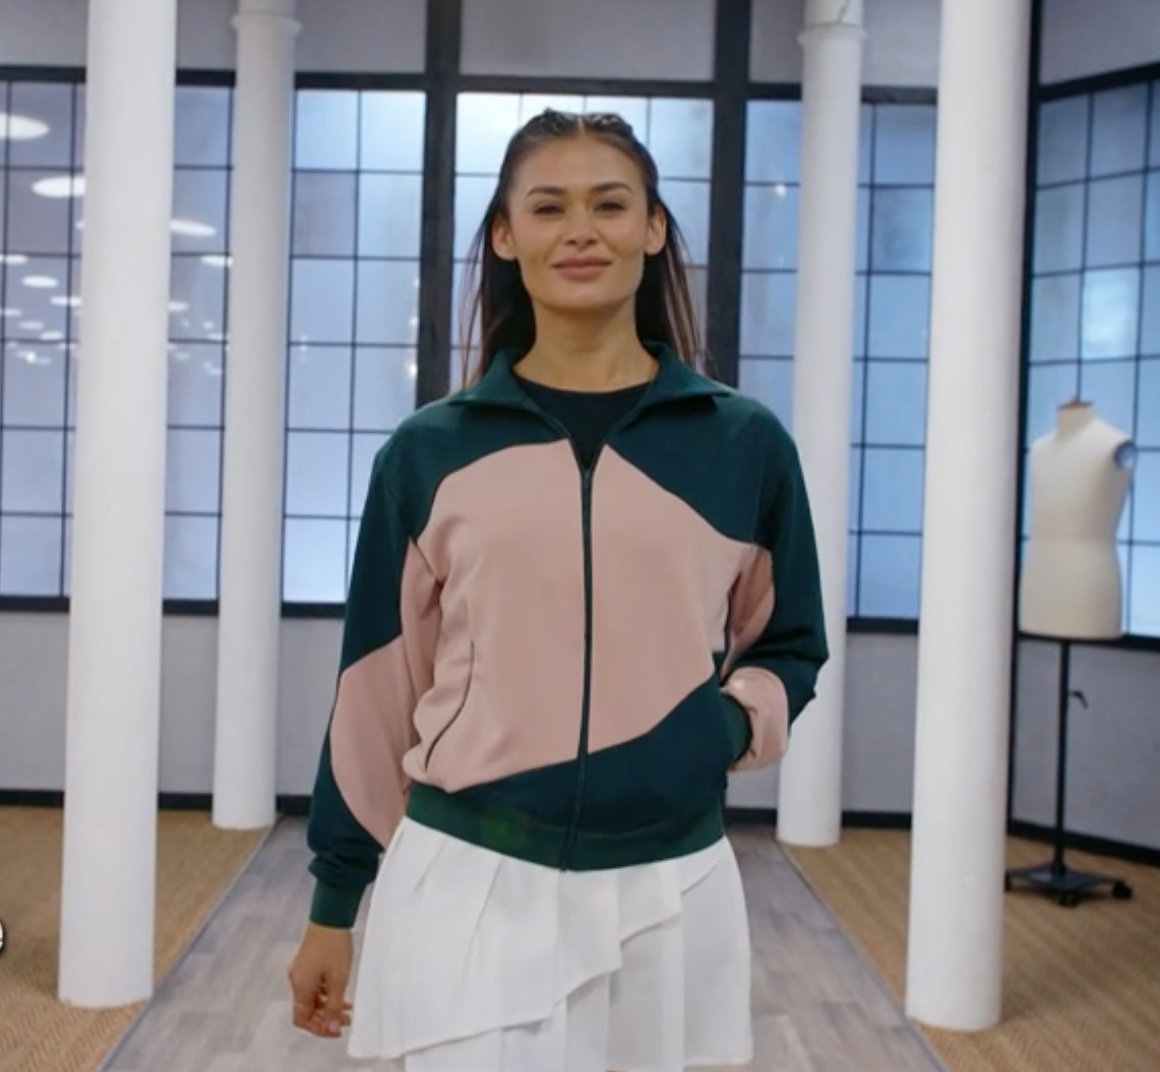
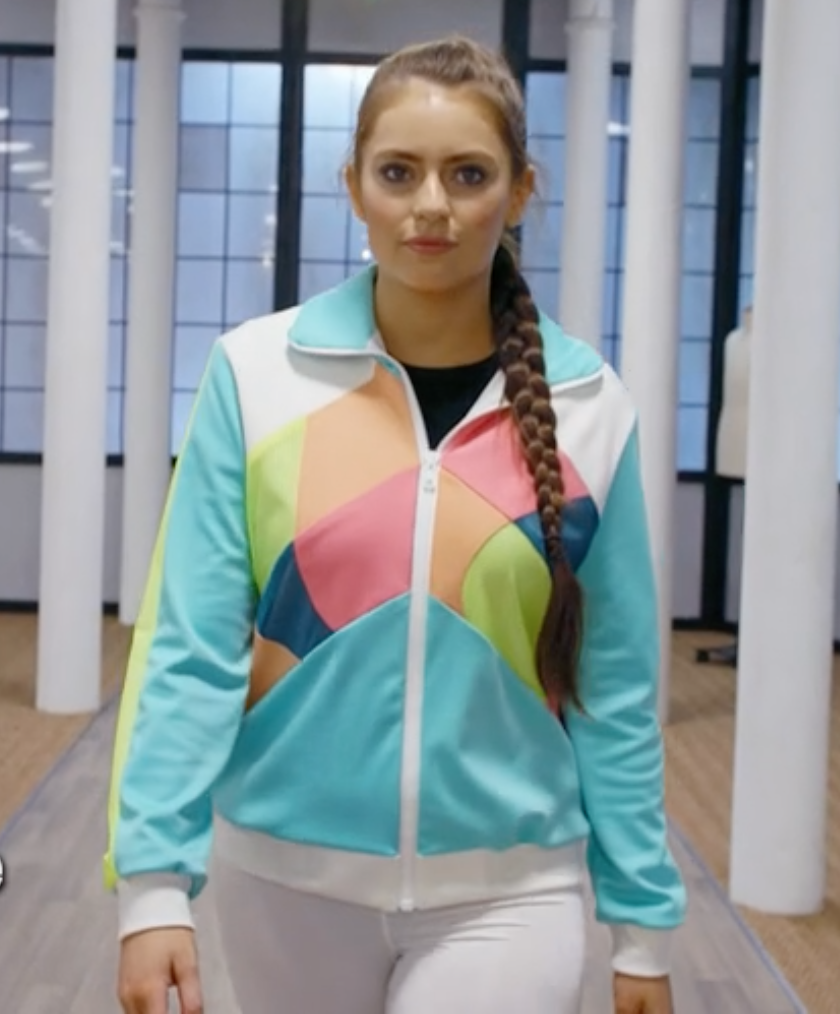
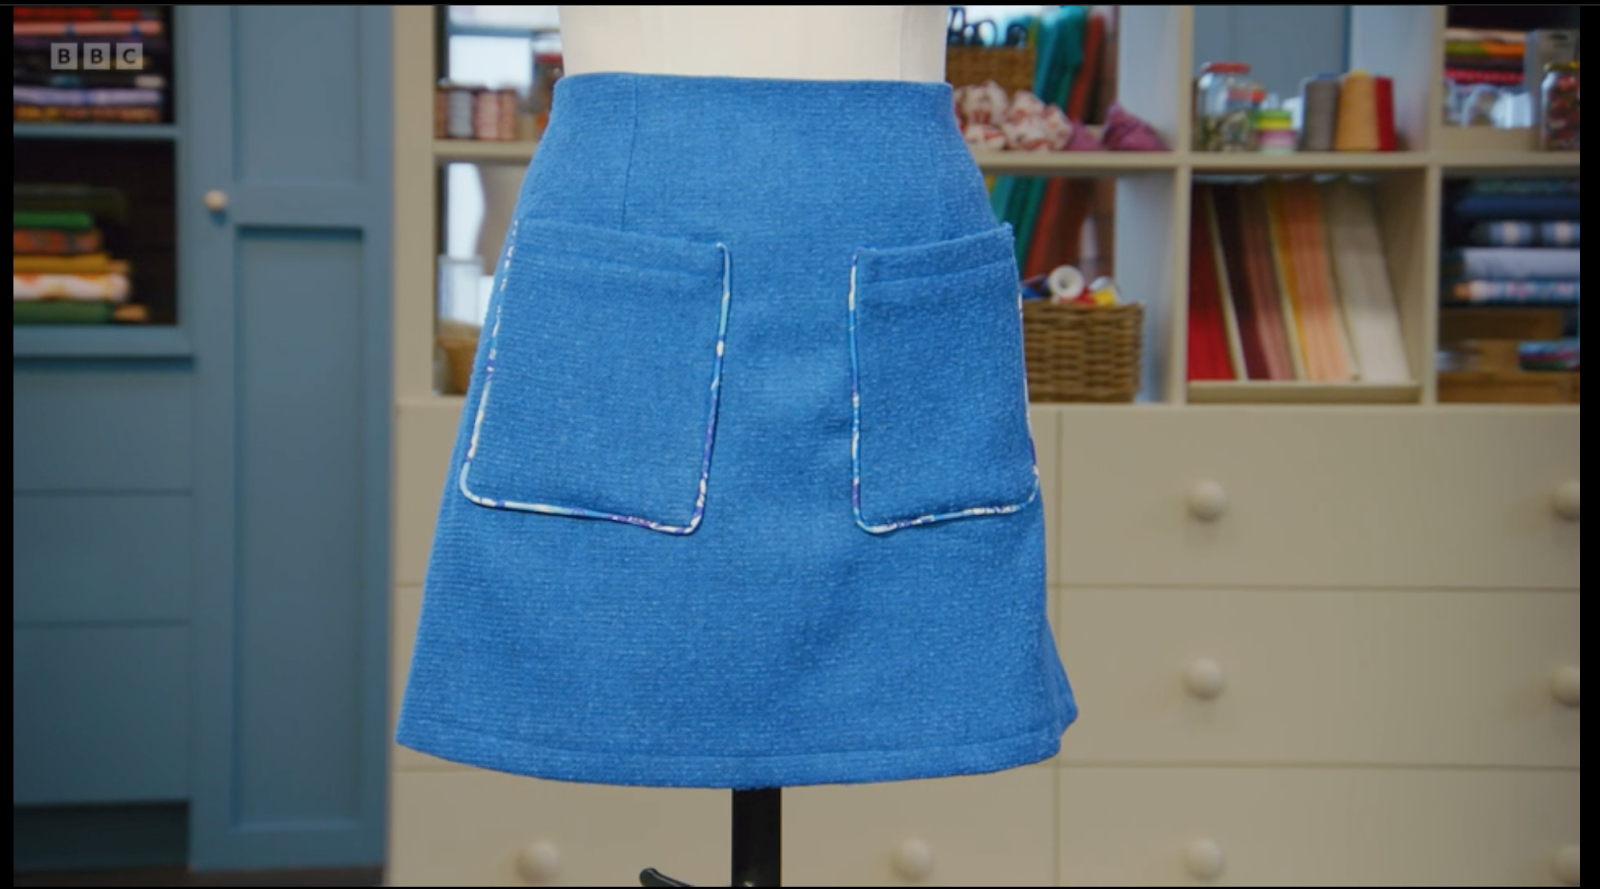
THE MADE-TO-MEASURE CHALLENGE - SUMMER TWO-PIECE
A trousered co-ord - a matching top and bottom, is the idea for this week’s made-to-measure challenge. The Sewing Bees were given five hours to perfectly fit their garments onto the given models. The challenge involved coordination in fabric and the way the two pieces looked.
And here are some of the results:
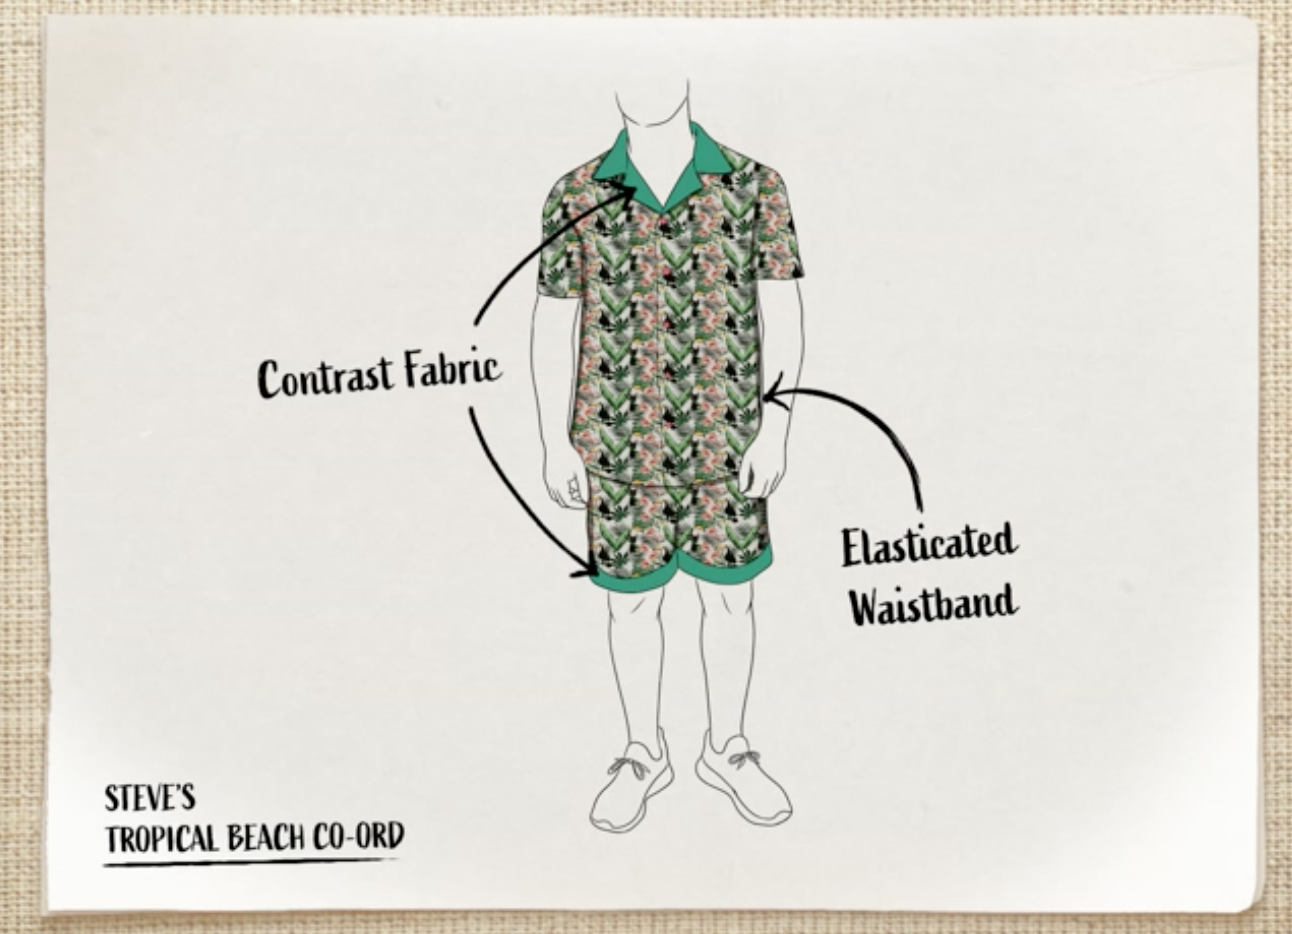
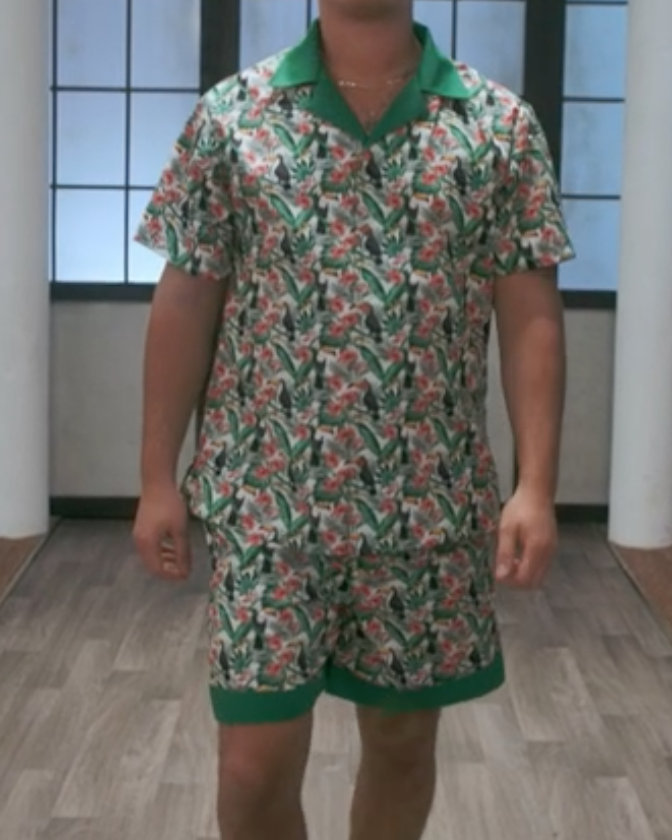
Steve’s tropical beach co-ord.
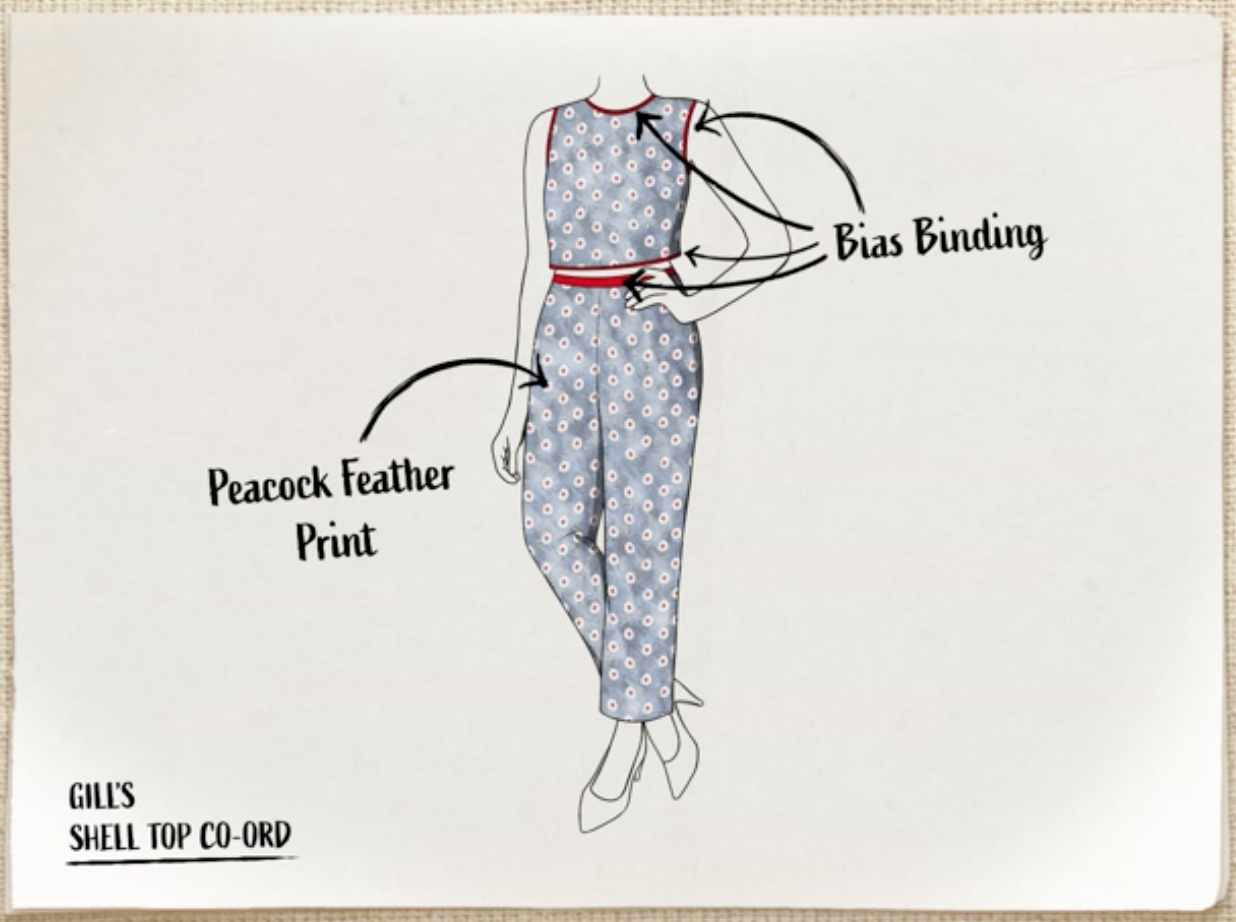
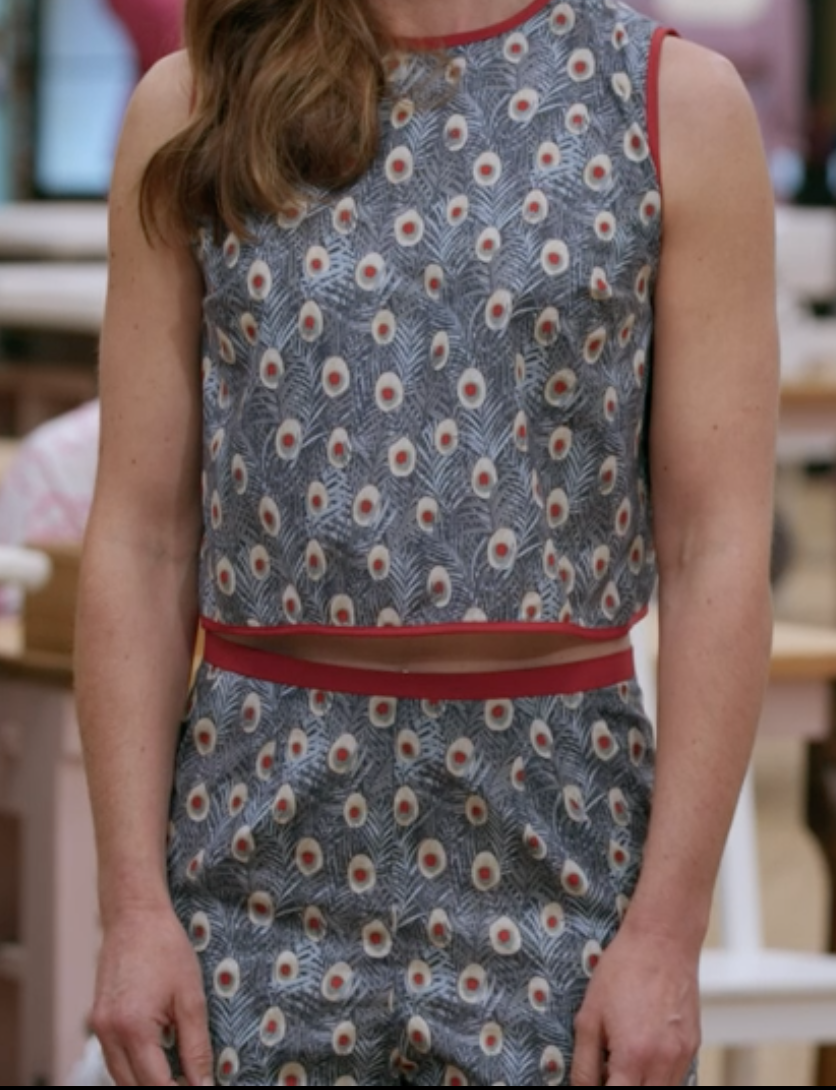
Gill’s shell top co-ord.

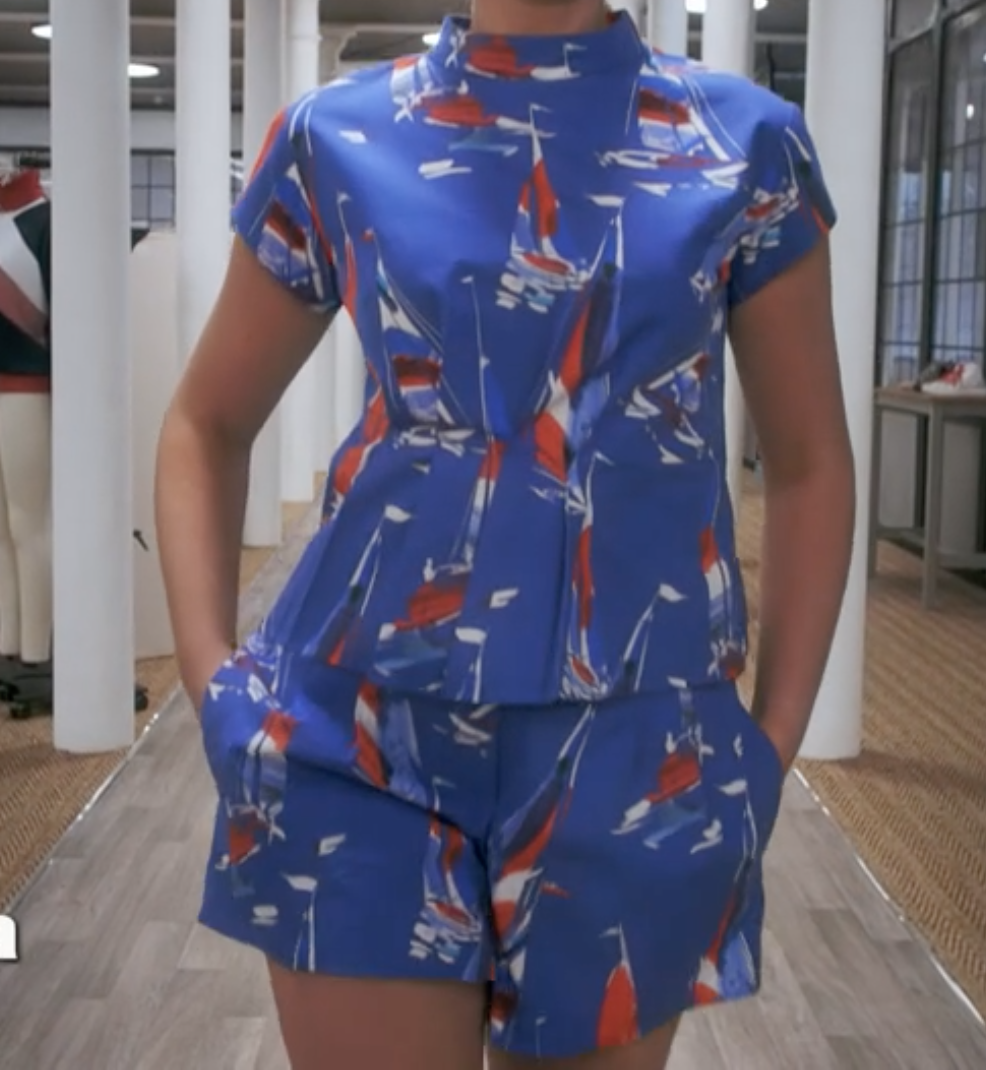
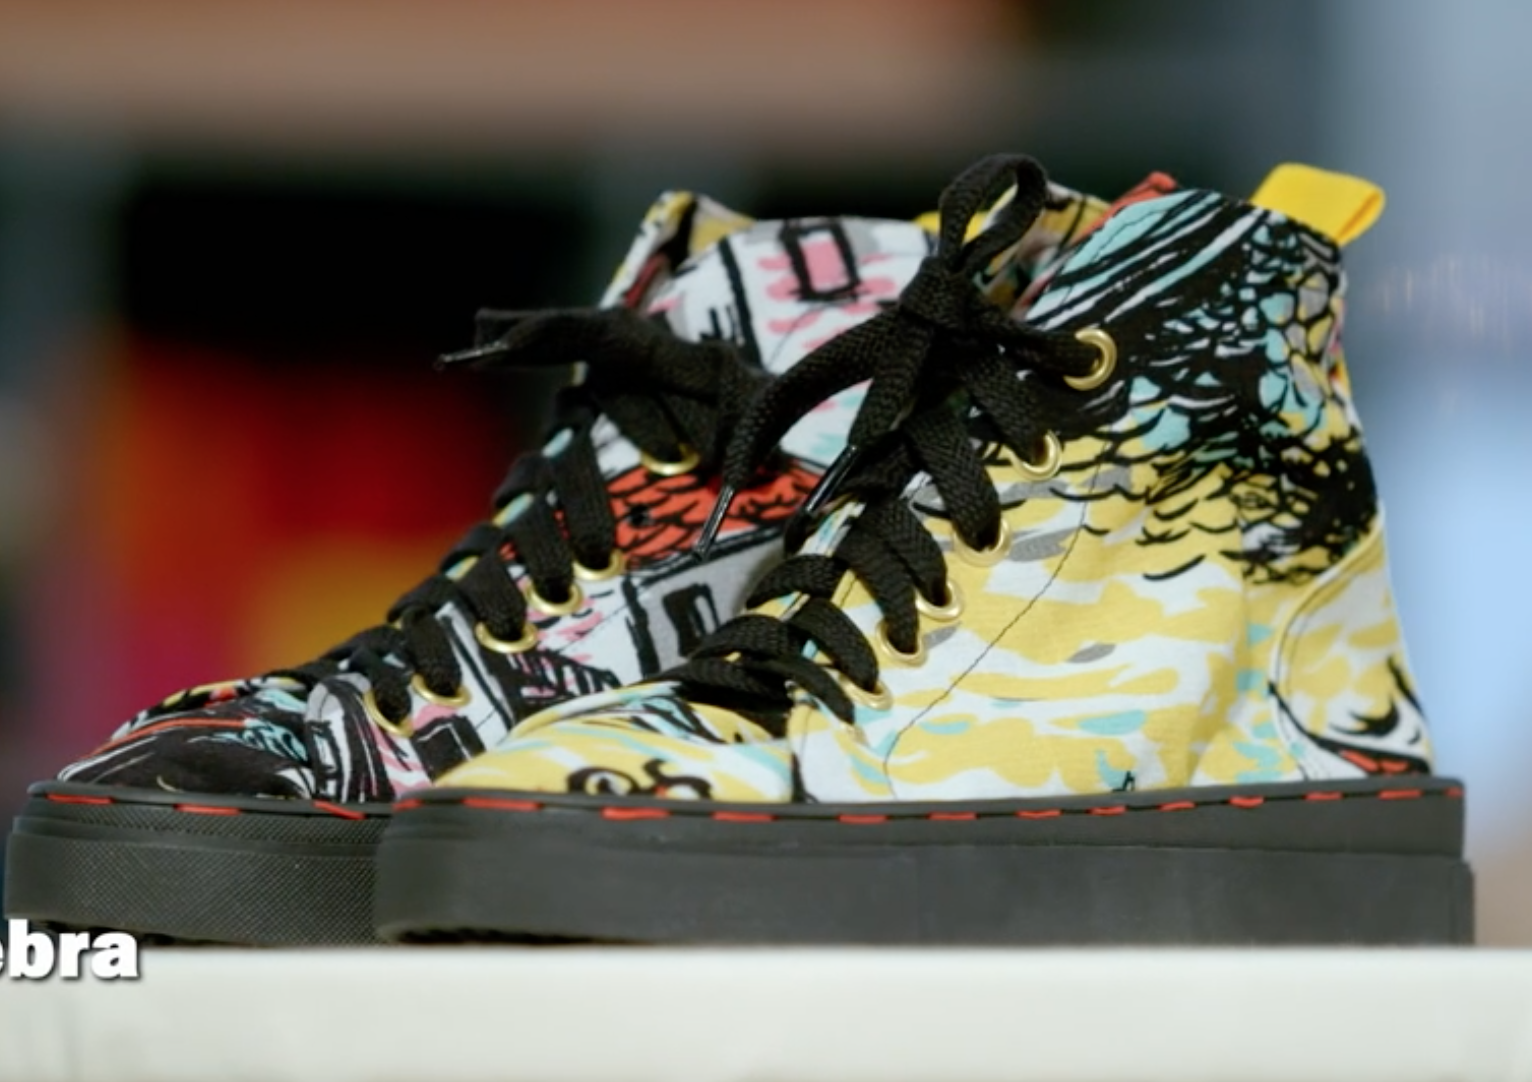
Debras’ sailing co-ord.
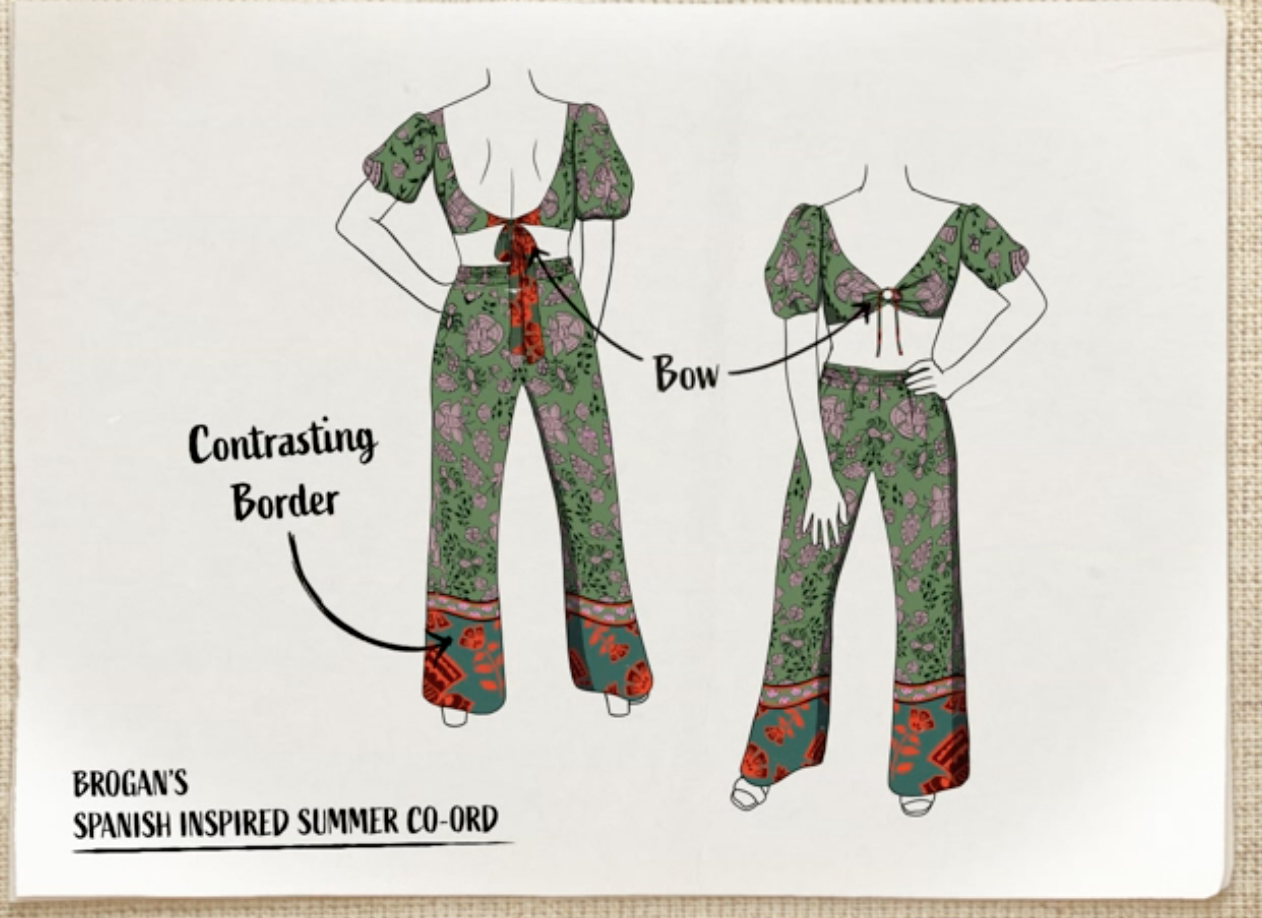

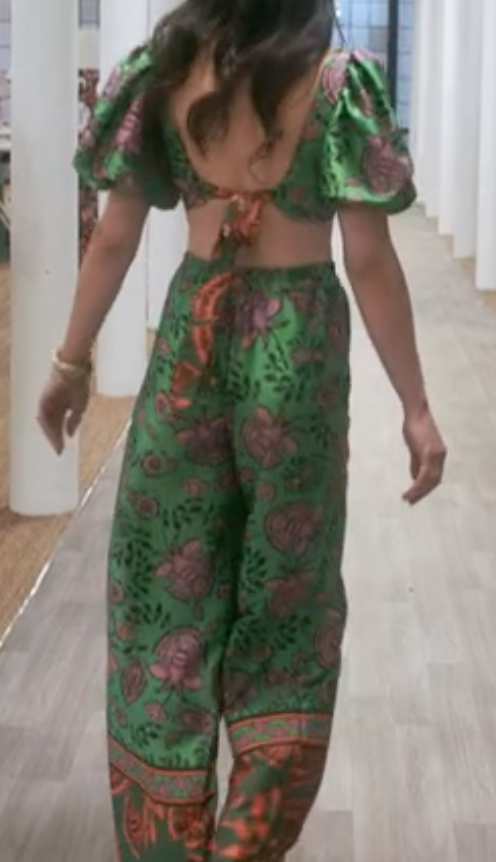
Brogan’s Spanish inspired summer co-ord.
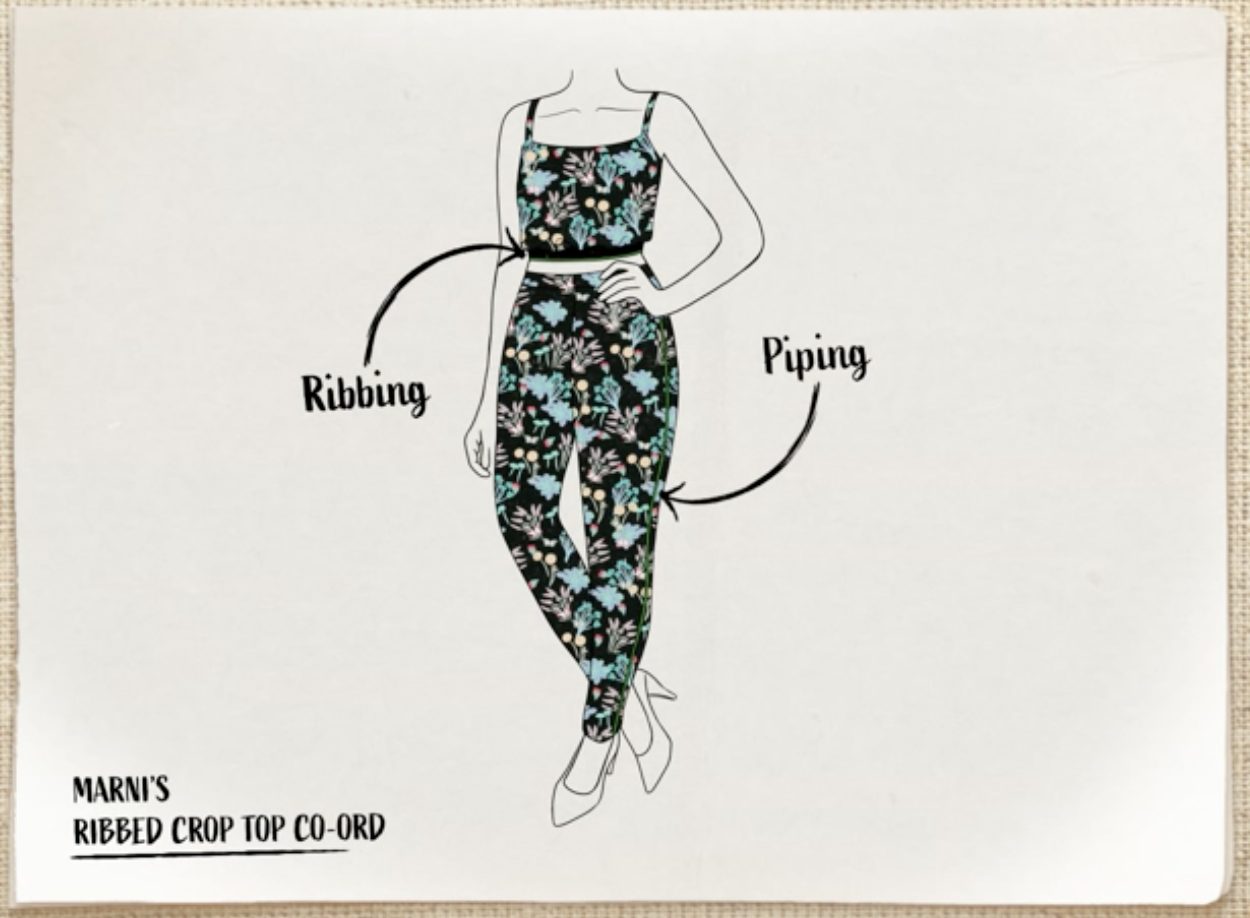
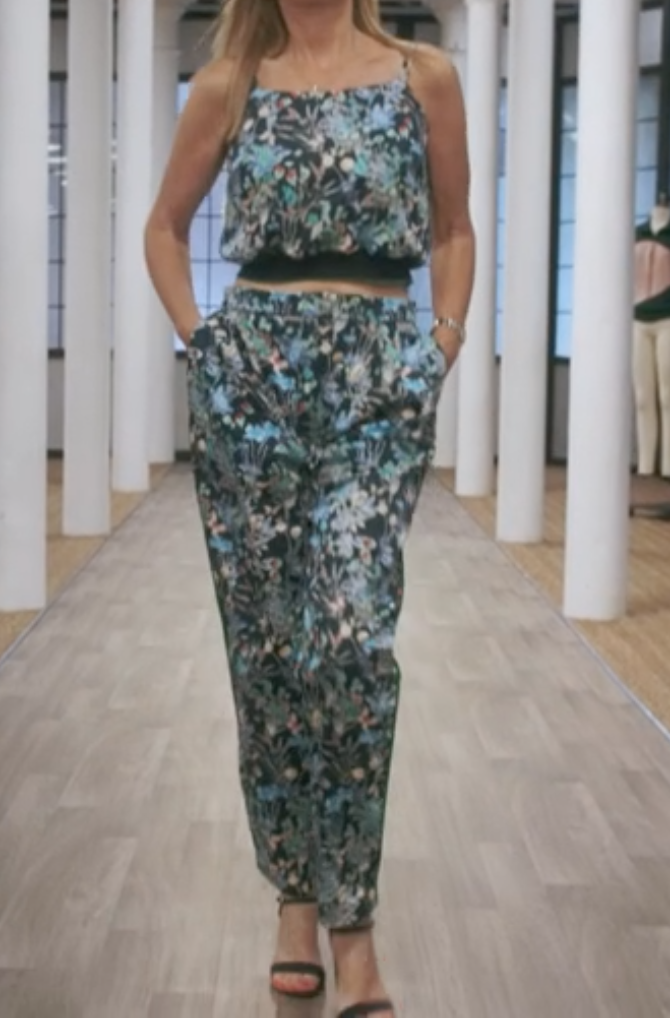
Marni’s ribbed crop top co-ord.
Pretty much any top and bottom sewing patterns could become a Co-ord outfit if sewn in the same fabric. In fact, you could even use a stretch fabric top and non stretch bottom half in the same print if you buy your fabric from online fabric printing companies who print a variety of prints (including your own!) onto a range of different fabrics in small quantities - try Prinfab, Contrado or Spoonflower.
Sew in Brighton classes:
In case you are thinking of making your own two-piece, transforming some old hammock into a popping summer dress or making a garment from scratch following a pattern, you can find us in Hove and book your sewing class online. See you there!
A new blog post will follow each week’s episode of the Great British Sewing Bee, so stay tuned for some more content and sewing inspiration!
See you next week and until then sew, sew away….
Browse Sewing and Dressmaking Courses and Classes here: (https://www.sewinbrighton.co.uk/viewclasses)
Browse free sewing tips and tutorials here: (https://www.sewinbrighton.co.uk/viewclasses/cat_1650825-Video-Lessons-Advice-Sessions.html)