Guest Blog: Emily's Pattern Cutting Experience
Posted on
Emily took our 'Pattern Drafting Course' and went from learning how to make a block, to creating a unique and perfectly fitted skirt of her own! Here's how she got on...
Pattern Drafting (Cutting) Course student blog
A friend of mine had recently completed a pattern cutting course. “Look,” he said, showing off a newly made waistcoat, “Look how well it fits!” It indeed did fit well and I was sold, I decided that I was going to have a go too.
I found a course (advertised in the window of Fabric Land), booked it up and best of all, my parents paid for it as my Christmas present.
The first evening began with introductions. “Hello, my name’s Emily and it’s been one day since my last sewing session.” Nods and smiles all round and slowly we all got to know each other’s names. Then it was on to the course for real. With lots of measuring, drawing, checking and re-measuring, we all began to draft our pencil skirt blocks.
This is my block -
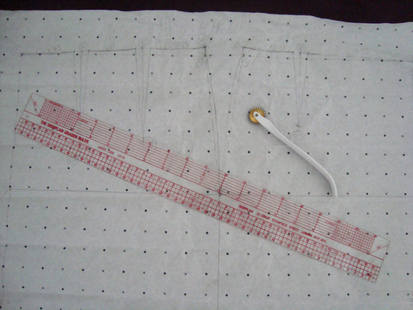
From these, we created our patterns. After hours of careful, close work, attention to detail and ultimate concentration I unpinned my pattern pieces from the calico to see… some square bits of fabric with slightly rounded corners.
Never in the history of humankind has so much work gone into creating some square bits of fabric with slightly rounded corners BUT I knew, they were my square bits of fabric and the slightly rounded corners would fit me perfectly when I made up the toile (fingers crossed).
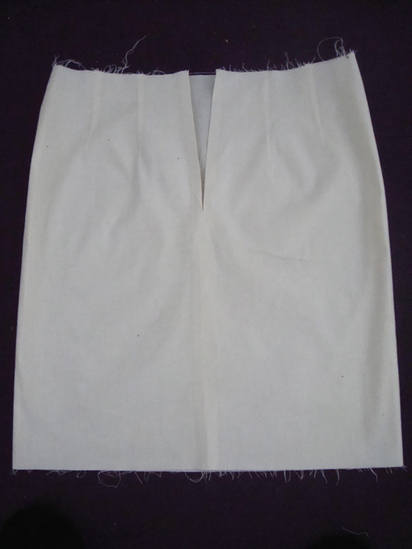
It’s actually quite hard to sew when you’ve got your fingers crossed but anyway, I did make my toile and it did fit. Yes! What a great sense of satisfaction.
Back view of my toile -
Over the next few weeks, there followed a great deal of guidance and teaching from Kat about how to achieve different styles and fits, including how to: reposition darts, add volume, inverted pleats, waistbands, facings, splits, wrap skirts, asymmetric designs, ruching, gathering and ruffles. We’d got to the stage where we were ready to start designing our own patterns. I was wavering between two designs that I’d seen and wanted to emulate.
Two skirts I liked -
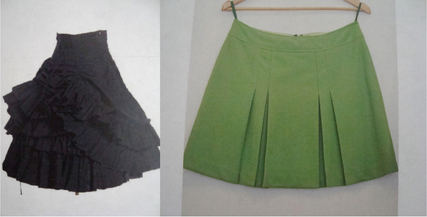
In the end I went for the green skirt design. I have always loved 1960s clothes and liked the retro feel of the mini skirt. It reminded me of the skirts my Mum used to make for me when I was a teenager, so from here I drew up some designs.
Designs for my skirt -
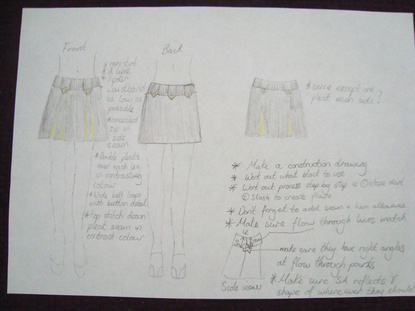
I have some fab yellow 1960s shoes and they inspired me with the colour choices. I was all set – original pattern here I come. I was a bit gung-ho and forgot to make a plan, I just started drafting pattern pieces at will, I thought I was keeping track of what needed a seam allowance and what didn’t…
Some of my patterns on the curiously named 'spot cross' paper -
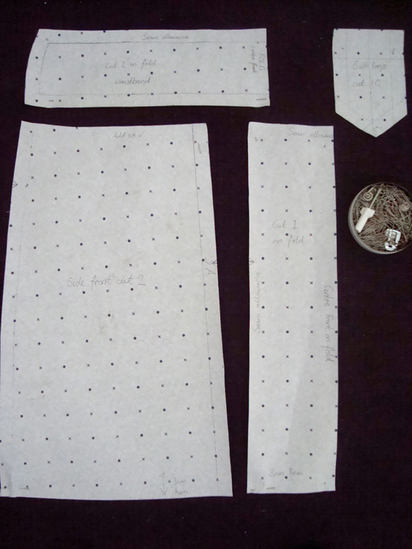
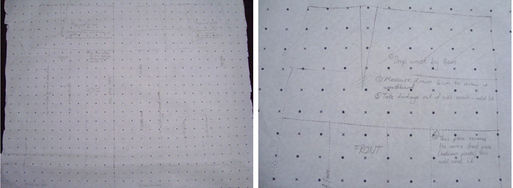
When it came to making up my garment, I clearly hadn’t kept track of where seam allowance had been added and the skirt tuned out way too big!
This is the plan I made after I’d made the skirt! I’ll know better next time -
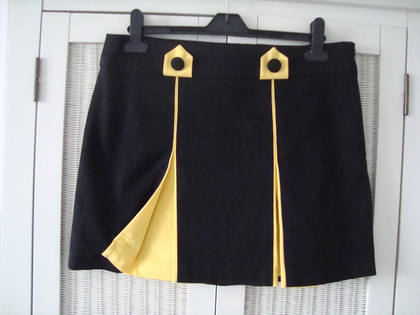
Still, all was not lost, as Kat had shown us what to do when this happened and I corrected my sizing in order to produce a skirt that fitted just right.
My final skirt! -
So, my final thoughts - I loved the course. It gave me a great sense of achievement and satisfaction. Funnily enough, it’s made me appreciate commercial patterns a lot better, which will be really helpful with dressmaking classes and making my own stuff at home.
I feel inspired and equipped to continue some more skirt patterns on my own and I’m ready for the next challenge, maybe dress patterns or even jackets. Thank you sew much (I couldn’t resist one sewing-based pun).
If you'd like to follow in Emily's footsteps and create an original garment of your own you can find details of our next Pattern Drafting Course here.
