Student Blogger: Hairdresser Paul Bally, Part 1
Posted on
Hey,
I’m Paul and I’m a hairdresser who specialises in hair loss and extensions, I’m hand sewing hair extensions on a daily basis and also make hair pieces for clients on my fabulous industrial wig sewing machine (@superbuffhair on Instagram).
I’ve always been able to use a sewing machine and hand sew as my mom taught me when I was a child to make clothes for my toys and mend things. As the years went on, I started making curtains and cushion covers (they looked ok lol) and adjusting clothes. Although I had a basic understanding, I never really knew how to do it properly so one trouser leg would always be shorter which then ended up being shorts or shirts having bulky seams etc.
During lockdown I dusted off my sewing machine and worked my way through the pile of clothes I wanted to alter and repair… the ancient machine kept jamming and making all sorts of noises causing me all sorts of frustrations (my poor partner) this is when I discovered Sew In Brighton on Instagram and had my lightbulb moment of “let’s learn to do this properly for the sake of my sanity and my partner’s wellbeing”.
I contacted Sew In Brighton owner Kat on the 15th of July 2021 and arranged a free chat after the restrictions were eased to discuss face to face where I was and how I could improve.
Kat was so helpful, reassuring and got me booked in for my first session on the following Monday. She even organised my sewing pattern!
Here’s how it went:
19th July 2021
I arrived at Sew-in-Brighton ready for my class all nervous with my pattern and sewing box, entered the room and was greeted by Mel. Instantly she made me feel at ease, asked me what I was making to which I replied “a shirt, nice and difficult for my first project”.
There is a whole science to opening a tissue pattern up! It was massive! All these lines and squiggles everywhere, instructions using words I’ve never heard of!
I carefully cut out the template to the size required (sewing patterns always seem to make you a bigger size so don’t be shocked – the sizing hasn’t changed since the 1950’s) and then carefully pinned some of the pieces together and very gently tried it on, Mel then adjusted it accordingly to fit my arms and chest and showed me how to extend areas.
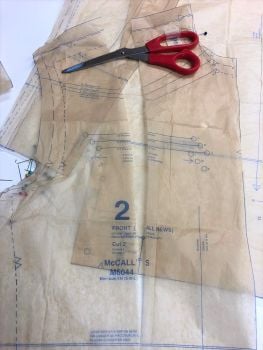
So, I didn’t get to do any sewing on this class as there was so much prep work! It’s all necessary to learn properly. You can’t just take a pattern, cut out the material and start sewing, I’m so glad I did it this way otherwise my garment would have been another uneven bulky mess.
All the other stitchers were so lovely and were happy for me to ask about the different projects they were working on (camper van shade, bag, cushion, top).
After returning hone I then ordered another seven sewing patterns of various clothes for my next projects lol! Haven’t even made one, now I think I’m a tailor/dressmaker!
20th July 2021
Next day and I’m raring to go. I’ve got my pre washed fabric (black cotton) and Mel showed me how to fold the fabric the right way, selvages together to find the grain line (I think that’s right).
I spent the lesson pinning the tissue paper cut outs onto my fabric, and asking lots of questions , so I’m sorry if I was being annoying, I just want to know everything and want to get on. As you can tell I’m impatient.
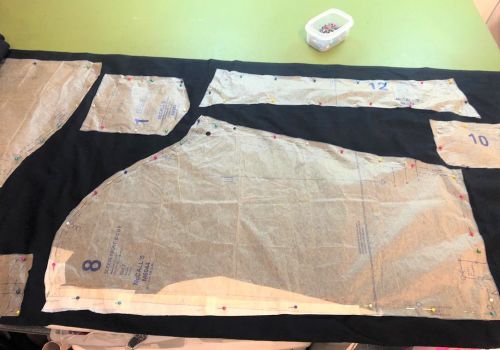
For homework I cut out all the pieces ready for my lesson the next day.
21st July 2021
Please let me do some sewing! I’ve done all the prep, please please please! I’m so glad teacher Mel is patient, she gets everyone started and showed me how to do the pockets of the shirt. I honestly don’t know how anyone can decode the instructions on a sewing pattern!
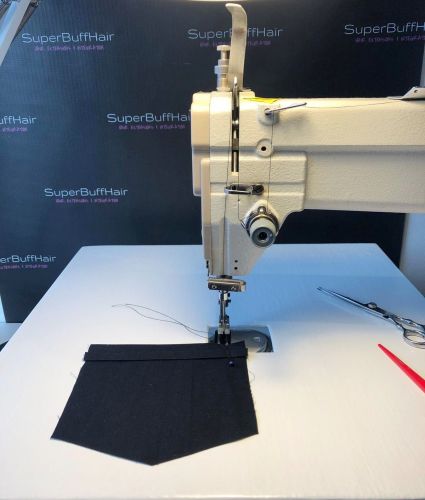
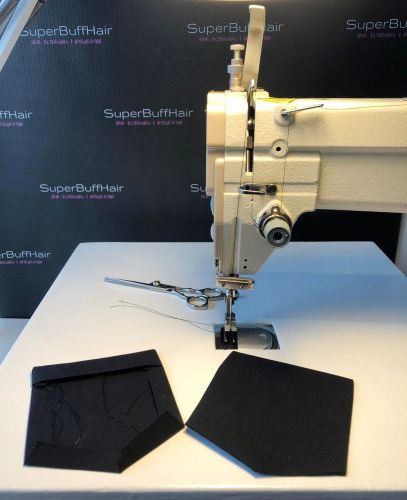
There is a lot of ironing in making clothes, pressing edges over to make it easier to sew… and there it was, the sewing machine all plugged in and ready to do my first pocket flap! The feeling was incredible! Not because of the sewing but knowing why I was doing it this way. Once I’d stitched the edge (seam allowance) turned it the right way and pressed it Mel showed me how to do a buttonhole.
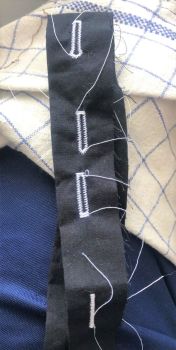
OMG doing button holes on the machine has changed my life! I want holes in everything now! We changed the presser foot, selected the correct setting and off it went, automatic and perfectly quick. I then attached the pockets and flaps to the front of the shirt Mel then showed me how to do a “French seam”, again I was OMG I love this!!! I did the top of the shirt and that was the end of the session.
When I got home I looked at my old relic of a machine and said “ sorry buster, but you can’t do what I need you to do anymore, thanks for all the years but I’m trading you in for a younger model!
Log onto eBay and press Buy it now.
My sewing patterns have started arriving so I started cutting them out ready for the next project to save some time. One of my patterns was a unicorn toy so as I couldn’t get to a class for a week I embarked on a side project for my niece.
Unicorn Home Project
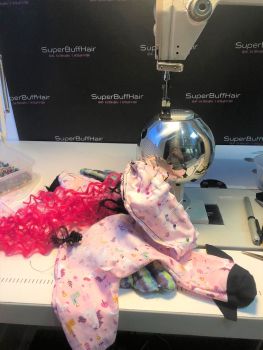
So after two stitch classes I was confident enough to try making a toy from scratch at home on my own. I traced out the pattern of the unicorn (or horse if it became too much lol) pinned it to the material (pre washed) cut it and started sewing between my old machine and my industrial wig machine.
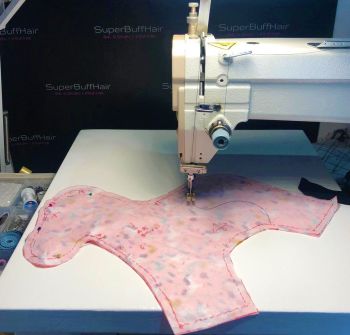
Again the instructions were difficult, jumpy and not very clear so there was a bit of unpicking, swearing and lots of mess! But seeing those tiny hooves melted my heart .
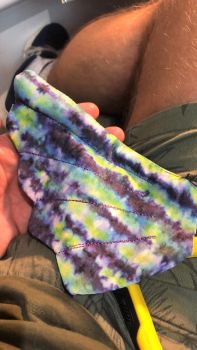
Who would have thought a toy would be so fiddly! Anyway I had trouble with the wings so took them to my next stitch class.
2nd Aug 2021
Today I had Naomi as my teacher, I’d seen her before working on something so was pleased to see a familiar face, and she knew what I was working on… good job as I couldn’t find my instructions! Poor Naomi, I tested her shirt making skills to the limit! (I did find them at the end of the class underneath my sewing box lol!)
We went through the 2 part shirt sleeve with placket, every stage my mind is blown! How simple it is to do and just knowing how a shirt is constructed gives me so much pleasure, even though I never really wear them.
I’d run out of my Gutermann thread so was finding it impossible using my cheap emergency thread that kept snapping while trying to do what I think are called running stitches. These are used to “ease in” areas of fabric where the arm hole is smaller that the sleeve opening for example. I said I would redo these at home, so for the remainder of the class I finished off my unicorn wings with Gutermann glitter thread.
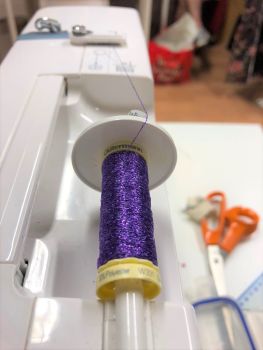
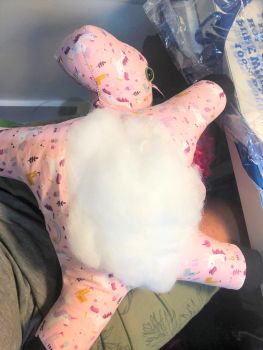
Homework was redo running stitches and stuff unicorn wings… over an hour doing this! Next time I won’t do the seams so close together as the stuffing just wouldn’t go in without pliers, tail comb and a wig needle!
3rd Aug 2021
Naomi was in again today, she must have done her 10,000 steps in the class! Her attention to detail of everyone’s project was amazing - it would have been much easier if we were all doing the same thing!
I learned how to do a tailor’s tack stitch, again so simple. It’s used to mark an area instead of chalk which I was rubbing off with all the moving and ironing of the garment. I did a lot of watching of tissue fitting and adjusting on other student’s projects in the class, getting lots of inspiration for my next project.
After the class I went onto Brighton to buy some more material and supplies, this hobby is getting expensive lol!
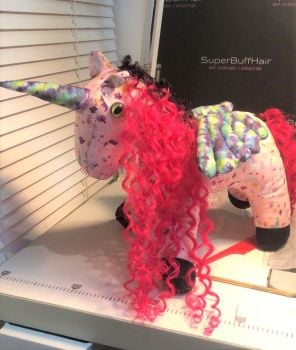
When I got home, I finished sewing and stuffing the unicorn, made its hair nice and sent photos to everyone asking their opinion. They all said my niece will love it (not sure what the unicorn identifies as).
4th Aug 2021
THE NEW BROTHER INNOV.IS 15 NV15 arrives!!!
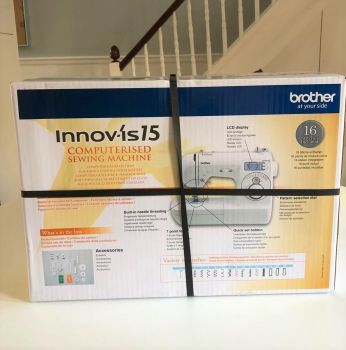
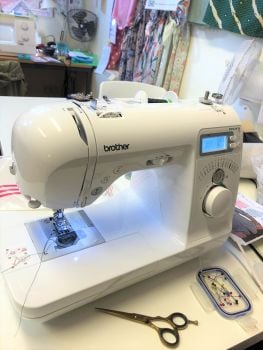
Literally does 3 different button holes! It’s so quiet, easy and shiny!
Went to visit my parents over the weekend, gave the unicorn to my niece and she adores it! She named her Pinky Sparkles and within an hour she could fly, read cooking books, sleep, eat sweets and play the guitar with her horn!
My mom has asked me to make her a cooking overall or apron, haven’t even finished my shirt and I’m already taking orders.
10th Aug 2021
Kat (Sew In Brighton owner) was taking the Stitch Class today, so I was trying to be on my best behaviour, showed off my new sewing machine, but unfortunately me and “easing in” didn’t get on very well lol! Something so simple on paper was so difficult to get right (never done this before) it would bunch up too much, then not enough, then look right then snag… Kat was very reassuring and helped me and showed me the blast it with steam techniques… so now I want a new iron at home.
Not much progress (being impatient again) but now that I’ve “eased in” for 2 hours I feel more confident how to do it right the next time. I think I’ll just do sleeveless outfits in future.
11th Aug 2021
Mel was back today, giggled over my ordeals and reassured me at the progress and improvement in the few classes. We did more French seams, took in the shirt body and arms and even managed to part attach the collar. Today my shirt looked like a shirt! I was so happy!
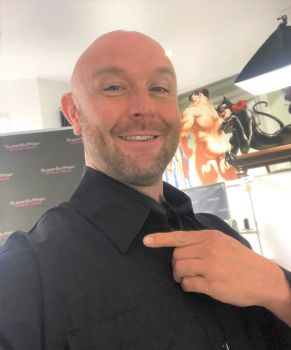
Homework is to finish collar seam and top stitch all the edges.
I loved watching the other stitchers making curtains, trousers, dresses and corset. It’s amazing how much we use material without thinking the work that goes into making things.
16th Aug 2021
So I am still working on my shirt but needed to line up my next project which is suit trousers…the jacket will be at a later date as it is just looks too complicated and confusing at the moment.
I’d already cut out the pattern on the largest size to save time in the class and brought my partner along for the tissue paper fitting. I pinned the tissue pattern together, got my “model” to try it on and Naomi helped me take out/in where needed, redrew the stitch lines and started to pin the pattern to the material.
It’s amazing how long this takes and also how not to presume that because you brought a pattern that you simply just cut it out and sew!
Before the class I started to make a tabard/ over shirt for my mother to wear when cooking (everyone thinks I’m a professional already).
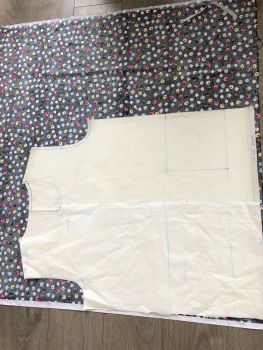
Using my skills learnt in previous lessons I did french seams, zig zag edging and interfaced pockets. It is a fun piece using liquorice allsorts fabric with spam tinned meat picture pockets. The edging I’m going for yellow binding. See picture of how I prepared it.
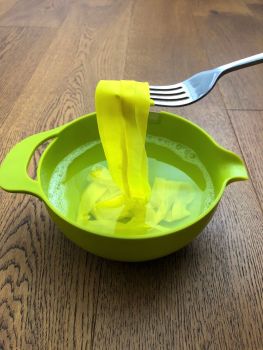
Homework was to pin the pattern to the material.
17th Aug 2021
I had Phil take the class today. Another teacher that knows how to construct a shirt inside out! After taking a look over what I’ve done he said ‘’right, let’s get this finished”.
First I trimmed round the shirt cuffs and stitched them round the edges, turned the right way and pressed. Next pin to the sleeves and add the pleat. I was so happy it was a pleat as I was not mentally prepared for easing in again lol!
Stitched the cuff to sleeve (my new sewing machine has a slow setting so perfect for going in circles)
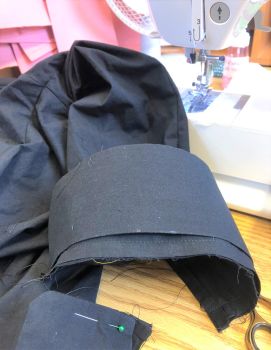
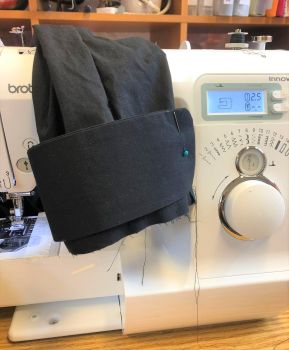
Pressed the life out of the tiny crease before Phil could see, shame I can’t use the iron on my face to get rid of those creases!
Last thing to do is the bottom seam and button holes, I feel confident to do these at home so I can start the next project tomorrow. I was supposed to be away on holiday, but I’m so glad I’ve got this spare time to do these sewing classes close together.
Just before the end of the class Phil helped me decide on the right size for the shorts project after the suit trousers.
Look out for the next instalment as Paul continues with his project... If you are interested in starting your own sewing journey take a look at the different classes and workshops we offer!
