Sew In Brighton Blog

 RSS Feed

» Listings for October 2020

  1. Whether you're a complete beginner or an experienced sewer, sewing and knitting pattern designer Andrea Thomas of Experiemental Space needs your help with pattern testing!

    We 'met' Andrea on Instagram, and were curious to find out more about her business. In our interview with her below we asked about her background in sewing and what she is looking for in regard to pattern testers.
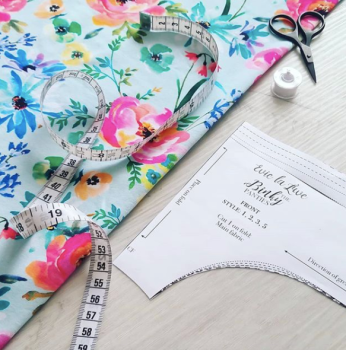
     Screen Shot 2020-10-12 at 09.44.51          Screen Shot 2020-10-12 at 09.44.13

    How did you get into making and selling patterns?

    I loved sewing but loved working out how to do new things & how the construction came together even more than just following a set pattern. Once I started planning my own designs, I wanted to make them available for others to sew as well. The thought of other people sewing up my designs was very exciting, and I was right! I’m always so happy to see someone’s Experimental Space make on Instagram. It’s even more rewarding when I hear the instructions taught them something new. I absolutely love that!

    How and when did you learn to sew clothes?

    I first learnt to sew when I was a kid but looking back at what I was able to do I’m not so sure that should count! I properly picked up a sewing machine and started to sew wearable things around 8 years ago. I started by reading books and watching YouTube. Quite a bit was just hands on learning while making a pattern, specifically indie patterns because the instructions were always so much more in-depth than the big pattern companies provided.

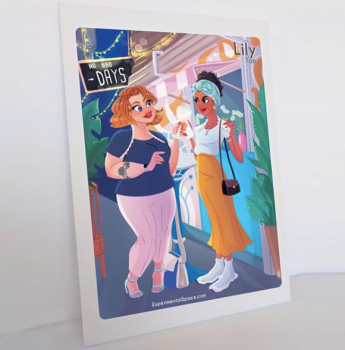
    The illustrations on the front of your envelopes are fantastic, who does the illustration and where did you get the idea to do this?

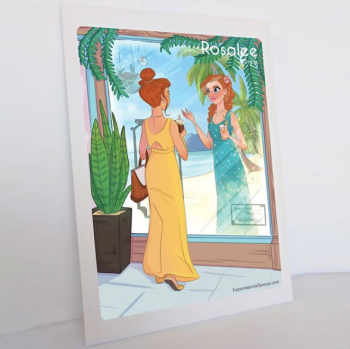
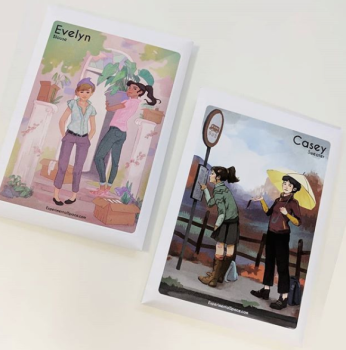
    Thank you! The idea originally came from my husband. At the time I was still working in software development with him and we mainly focused on the video games industry. Through that we knew lots of talented artists and he suggested I get in touch with one of them to see if she would be interested in working with me on this. She loved the idea and created the Evelyn and Casey artwork for me. The second artist, and one I still work with now, is also a character designer from the video games sector. She’s got this incredible ability to take my notes and pictures of the pattern and turn it into a beautiful scene for the covers.
    Screen Shot 2020-10-12 at 09.37.15 Screen Shot 2020-10-12 at 09.38.57 Screen Shot 2020-10-12 at 10.37.24

    Where do you work from to create your patterns?

    Well it’s changed quite a few times over the years! I started off at home, then moved into a little workshop, then back to home as of last year, and shortly I’ll have dedicated studio space in the garden. I’m very excited about that! The new space will let me have all of my materials more accessible and give me the room to do more video creation which is something I’ve been eager to get started on.

    What kind of patterns do you create?

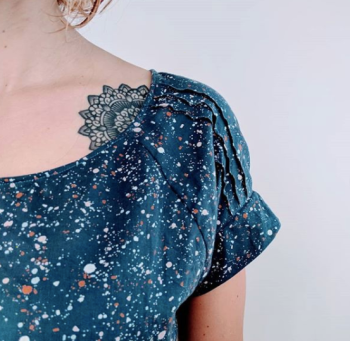
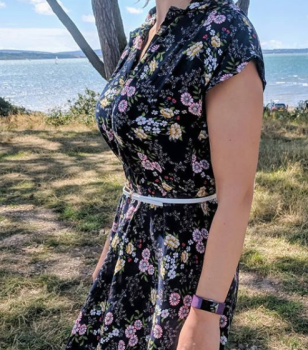
    I create patterns for women’s clothing. Until now it has been focused on tops, but I do have lots of ideas for trousers and coats that I’d like to see come to life. I also have an interest in expanding into some home items and simple menswear but haven’t dedicated much time to those yet.

    What is your best-selling pattern?

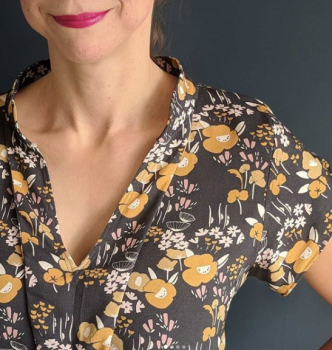
    My best-selling pattern is the Evelyn Blouse. It does vary depending on the season (for example, Casey sales are increasing as we get into winter. People want a cosy sweater this time of year but overall, Evelyn sells through all the seasons. I think this is partially because of how easy it is to layer, so it can be worn any time of year!
    Screen Shot 2020-10-12 at 09.46.25


    Which patterns are you looking for testers for? Will you need tester for future patterns?

    I am always on the lookout for more testers. Upcoming tests will be for new designs as well as the new size range for Evelyn, Josie & Casey. People seem to think they won’t be ‘good enough’ to test, but I need sewists of all experience levels. The sewists with limited experience help me know if the pattern will be easy to understand and follow, especially with techniques that they are trying for the first time. The more experienced sewists provide assistance on the fine tuning of the pattern and advice on adjustments. Everyone is able to contribute something, and I think it’s important not just advanced sewists are able to follow the pattern.

    Click here to browse Sew in Brighton's range of courses and workshops for all levels of experience.

    Are your sewing patterns available to buy on paper in envelopes as well as PDF downloads?

    Yes, I’m very pleased to be able to say all of the sewing patterns are available in both PDF and Paper versions.

    Are the PDF patterns tile patterns for sewers to print at home or can they send it to a printer which will print on one sheet?

    Both options are included. When you buy a PDF pattern you can print it at home on A4 (US Letter for those in the states), or you can send the A0 file to a printer to receive it all on one sheet like you would in a paper pattern. I’ve recently bought a large format printer so you can now order your one sheet print straight from the Experimental Space website.

    Do you just sew clothes, or do you make anything else?

    One day I’m going to attempt quilting again, but until that day I pretty much stick to clothes when sewing.
                   Screen Shot 2020-10-12 at 09.42.53 Screen Shot 2020-10-12 at 09.43.18

    If you're also interested in learning to sew clothes, home furnishings or gifts, book onto our Learn to Use a Sewing Machine course or our 'Stitch' Sewing and Dressmaking Classes

    Are you looking to develop your skills further? We offer a great deal of courses and workshops, click here to book onto one that suits you

    What is your favourite type of garment to make?

    Favourite is a difficult one to narrow down! I think I’d have to say my favourite in regard to rewarding would be jeans. I wear jeans all of the time and love that I can make up a pair that will fit me perfectly. Really makes me wish I learned to sew jeans sooner so I could have skipped all those frustrating changing room moments!

    How would you sum up the type of clothing that your patterns are for?

    I try to design patterns that are easy to wear but with a bit of a detail or unique twist to them that adds interest. I want them to be real clothes that real people will want to wear on a daily basis.

    Do people need any special sewing machine functions, tools or an overlocker to make clothes from your patterns?

    No special tools are needed beyond a sewing machine. All of the steps in the instructions can be completed with a basic sewing machine. There are options to finish the seams with an overlocker if you have one, but it is never necessary. For example, a simple zig-zag stitch instead would be just fine. There are tools and machines that might make certain steps in your sewing easier or quicker, but as long as you have a basic sewing machine, you’ll be able to make any of my patterns without sacrificing quality.  


    If you'd like to be a pattern tester for Andrea, Sign up on her website here!


    Or view Andrea's instagram feed at @sewspace.
  2. Class One: I've started a big project... A corset project! Corsetry has ways been something that has fascinated me and since picking up sewing I decided it was time to make one tailored to me.

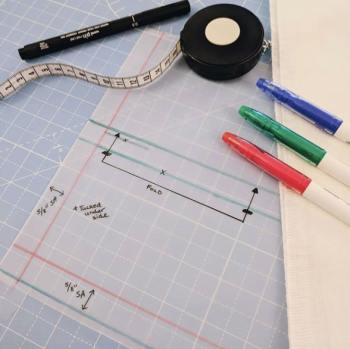
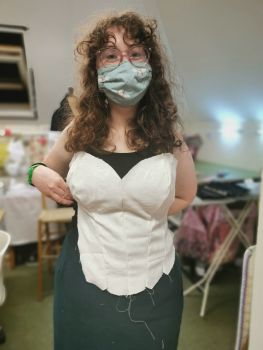
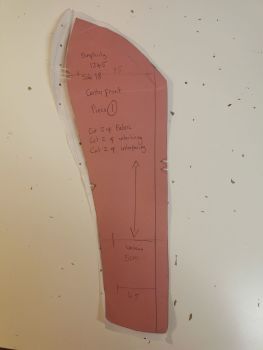
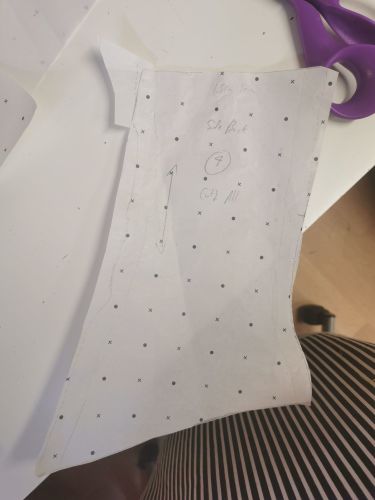
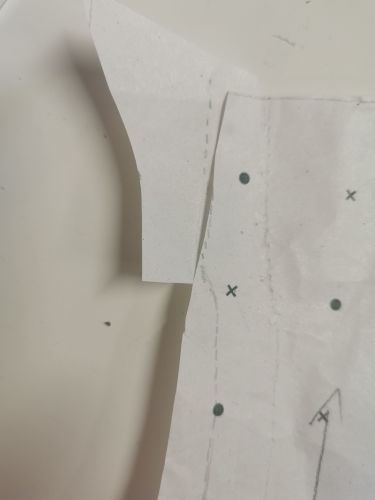
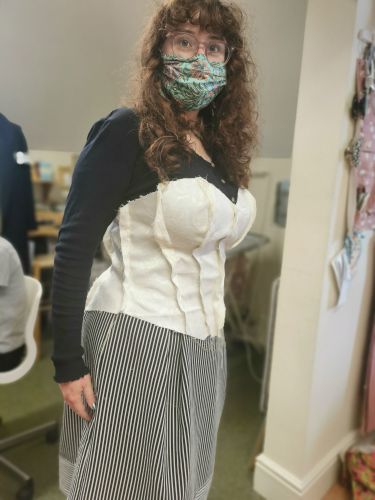
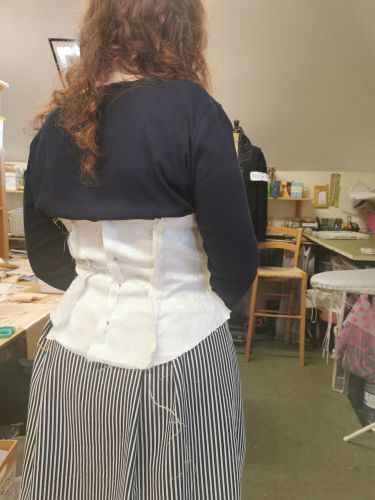
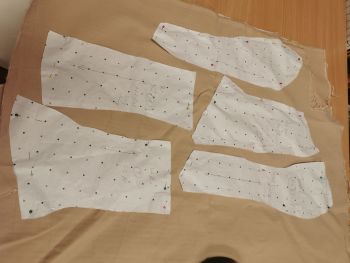
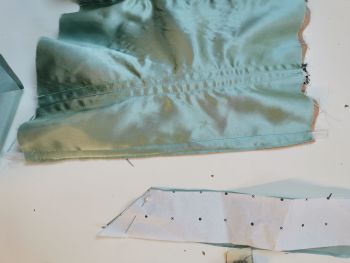
    The fit of it is what took up my first stitch class, fitting a corset and it's pattern which was available, to myself. Although the corset was pretty close to my size, there was a lot that needed changing! The bust had to be enlarged and the back panels shortened... And shortened... And next time they will be shortened again! As can (sort of) be seen in the picture, the pattern piece below the original one is how much it needed to be changed. All this can be tested for sure with a mockup, which is almost finished! The fit is already pretty good and I can't wait to finish the mock up, make any last changes, and get on to the real thing.
     
                IMG_20200921_205040     IMG_20200921_205145
     
    If you'd love to make yourself a corset in our classes, head over to our corset project page here to find out more
     
    Class Two: This time was more of the same, fitting the mockup! Since the corset has to fit my body perfectly, it's no surprise its taken me another lesson to get it right. It fits pretty well now, all adjustments have been made such as shortening the back panels, and I've started to adjust the pattern pieces (and sticking extra paper along the side where I didn't have enough space for the seam allowances!). 
     
            IMG_20200929_122858 IMG_20200929_122901
     
            IMG_20200929_113344 IMG_20200929_113354
     
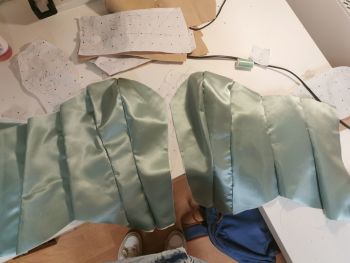
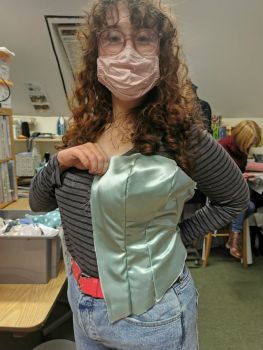
    Class 3 and 4: My corset has been advancing swiftly now! All my pattern pieces have finally been fully adjusted and the pieces themselves have been cut. I also ironed interfacing to the satin pieces to give them some support as they are quite thin. 
     
    IMG_20201005_195351                IMG_20201008_212347
     
                    IMG_20201008_204811IMG_20201008_212354
       
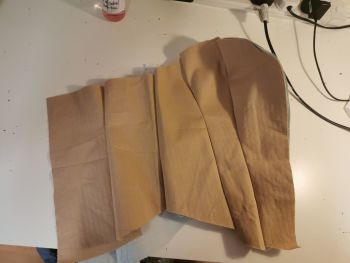
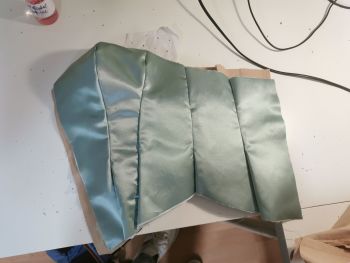
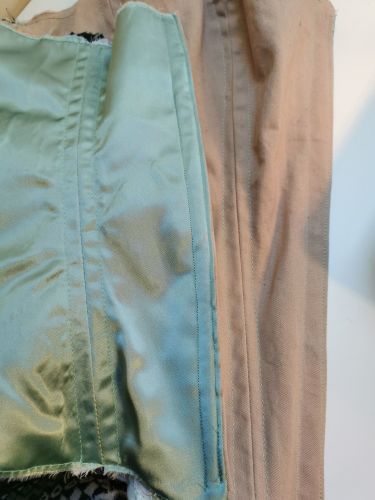
    And so it began... Sewing the pieces together! This part was quite daunting since the pieces have so many curved edges and I wanted to get it perfect. I moved very slowly at first, but my confidence definitely grew. I sewed the satin pieces first and by the time I reached the beige inner layer I was able to get them done in no time. And so both sides of theinner and outer layer have been sewn!
     
    Next comes adding the boning... To be continued! 
     
    IMG_20201008_212508
     
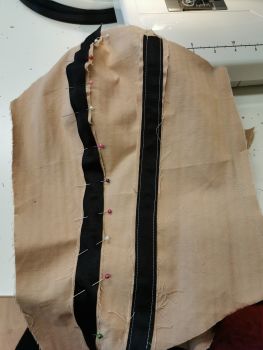
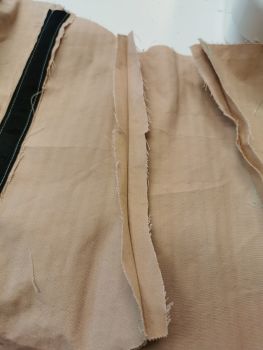
    Class 5: Now it's time to prepare for the boning channels! The boning channels are, of course, a vital part of the corset which gives it its shape and support. In order to create those my inner layer's seam allowances are ironed opened (this just makes it easier to sew later on). On the seam allowances I placed a black ribbon which will become a channel. For me, this requires many pins as the pieces are significantly curved and I don't want the ribbon moving about!
     
     
           IMG_20201020_114949      IMG_20201020_115000
     
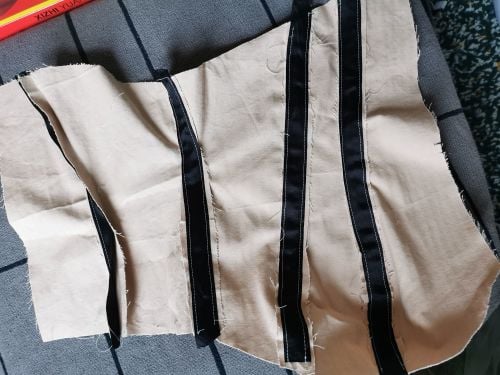
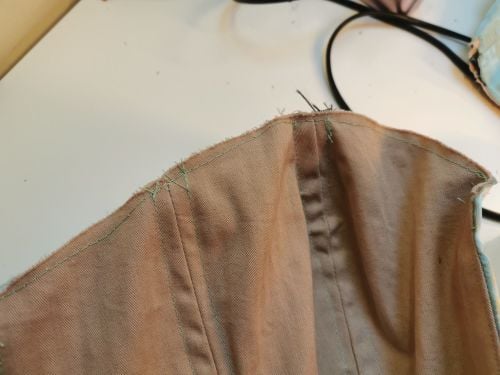
    My first attempt was more like three until I could finally work out the best way to sew it. At first I tried to sew from the front of the piece in order to achieve nice straight stitching on the outside. However this meant that my sewing on the ribbon was not straight. This means that the bones (plastic, of course) would not have been able to fit in the channels. The ribbon is fairly narrow as well, so precision is key. In the end sewing directly on the ribbon was the best choice and my previous straight stitches on the outside didn't end up too badly after all. My stitches are green since I accidentally bought so much green thread it would feel like a shame not to use it!
     
    The most difficult part was the seam of the most front pieces for the bust. It is so heavily shaped that I ended up having to move at a snails pace just to get it done! In the end I almost finished one side of the corset in terms of channels. Next time will be much quicker!
     
    IMG_20201020_163559
     
    .               
     "It's fair to say I'm happy that only one of the two layers has boning in it!"
     
    Class 6: Oh dear, we're going into lockdown again! So I am sad to say my corset will not be continuing for quite a while, especially since I'll hopefully be able to travel back home for December! But I am delighted to have been able to attend a final lesson before my long break from Stitch Classes.
     
    First I did a quick try on and Mel helped me by pinning the back panels to the size where the lacing would be appropriate. Then I gently cut off some extra excess from those back panels and folded the two layers inwards 2cm. I then carefully top-stitched the pieces together with a very small seam allowance.
     
    To get it ready for eyelets (and lacing) I needed to give it some extra stability with, you guessed it, some more boning! The boning needed to be very narrow to leave enough space for the eyelets, and none of the pieces were quite the right size. Luckily they are only plastic so I was easily able to cut one piece in half and sew it in. I did this the same way I did the busk pieces by sliding the boning in between the two layers and the using a zipper foot to get as close to the edge of the bone as possible and secure it in place.
     
    IMG_20201104_121524   IMG_20201104_121516
     
    IMG_20201104_113429.      IMG_20201104_122640_1
     
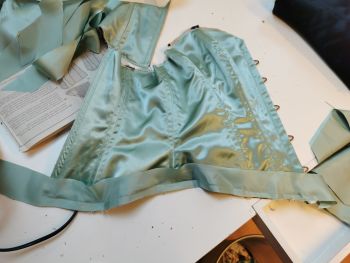
    Next comes the binding over the top. To make this easier I machine-basted the edges of the corset closed (like tacking but by machine) before attaching the binding. This way I don't have to worry about the pieces sliding around while I try and add binding as well! Then I managed one half of one binding... I have to wait a while to even get that done now! It's a shame that the Online Stitch Classes  Sew In Brighton is running during lockdown won't logistically work for me, I guess I'll have to be patient...
     
    To be continued! 
     
     
    If you would like to coming along to sewing classes during lockdown and beyond, checkout our online classes here
     
    Check back here weekly for updates on Annie's corset-making journey!
     
    Would you like to have a go at making your own corset?
    If so, find out more about our corset making project here and book online to our Stitch Classes or One-to-One Lessons.
     
     
  3. We spoke to talented textile artist, Anna Liversidge, who teaches our beautiful embroidery workshops to find out more about her inspirations and top sewing tips for students.

    Screen Shot 2020-09-22 at 11.14.36 Screen Shot 2020-09-22 at 11.17.33 Screen Shot 2020-09-22 at 11.15.07

    How long have you been doing embroidery for? 

    I began with machine embroidery at Art college in Barnsley 1994. I didn't delve into hand embroidery until 2004 when asked by my agent to add some to the designs I was creating for children’s wear. 

    What was your inspiration behind doing embroidery?

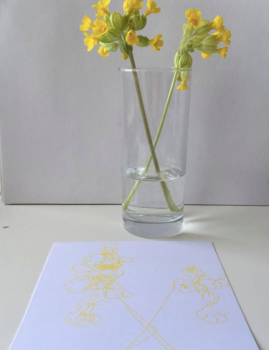
    As an art student I had a lot of trouble finding my medium. I was initially drawn to ceramics and jewellery, but they weren't a good fit. Textiles seemed really boring to me, having grown up with women dressmaking at home, it seemed like women's work, and not something exciting. I avoided the textile department, until a compulsory machine embroidery workshop. On the day I groaned, looking forward to it being over. To my surprise I fell completely and instantly in love with it. The speed, and possibilities, mixing of fabric and thread was so exhilarating. I soon bought my first sewing machine as I was completely addicted.  

    What do you find most exciting to teach?

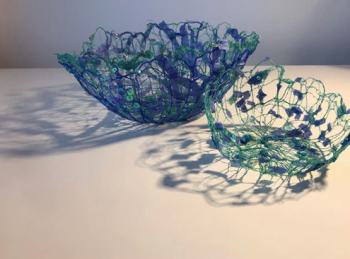
     I love teaching machine embroidery on water soluble fabric. The results are quite fast, and it feels very magical to watch the fabric vanish leaving only the threads. It's both a simple and complex process. I can teach a beginner to get a good result the first time, it's all about connecting the threads enough. Though the complications arise in trying to make something look a specific way, as the results are rarely predictable, even after many years of practice.

    Screen Shot 2020-09-22 at 11.32.40        Screen Shot 2020-09-22 at 11.35.26

    What materials do you work with? And which is your favourite to use?

    For machine embroidery I use rayon threads, which have a beautiful shine, I mix them up with cotton threads for contrast. When I'm not using water soluble fabric, I mostly use cotton organdie and other transparent fabrics. I love the ghostly feel this creates. For hand embroidery I use fine linens mostly and hand dyed threads by paint box threads. I like to mix up the thicknesses and create texture and contrast, so I will use wools, cottons, metallics and even the machine emb rayon. If I had to choose a favourite - cotton organdie, it's very expensive, transparent, smooth but has some stiffness to it which creates substance, and it takes paint beautifully.   

     Screen Shot 2020-09-22 at 11.20.14                    Screen Shot 2020-09-22 at 11.12.00


    What is the easiest skill to start with for beginners?

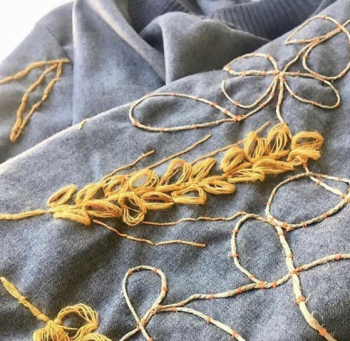
    The easiest skill for beginners is most definitely hand sewing. I'd say get hold of some simple cheap calico or cotton and start with the basic stitches. I don't use any complex or decorative ones. Apart from occasionally fly stitch (which looks like a bird foot - a V with a line beneath) I mostly do everything with running, straight and back stitch, which anyone can do. I just play with them and layer them up. Slow stitch, and basic darning are very popular now.

    Do you have any sewing tips for students?

    I'd say keep it simple and be playful, see what happens. I was never formally taught hand embroidery, but I can do a lot with very simple stitches. I've taught a few students who had bad experiences at school which put them off. They have enjoyed my classes as my motto is there are no mistakes, things can be unpicked, stitched over, and there is so much to learn from happy accidents. Unless you have to sew very neatly as a seamstress - have fun and see where it takes you. 

    How much of your life do you spend on embroidery? Is it easy to fit in around your day-to-day life?

    It goes in patches, sometimes many hours, other times little. Though I am always happiest when my hands are at work making. In the last year or so I have moved into more fine art textiles, so I am drawing more, and painting, and using stitch too. It is easy to fit into daily life. With machine work I can be working on a large piece and do short sessions through the day. I always carry a piece of fabric with me which I sew by hand when I'm out and about or waiting around. I find it soothing and relaxing, and it brings me into the present moment. 

    Are you currently working on any personal projects?       

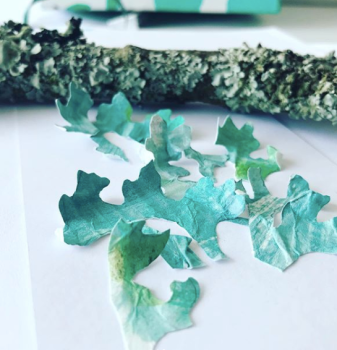
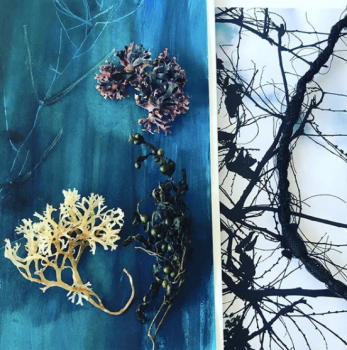
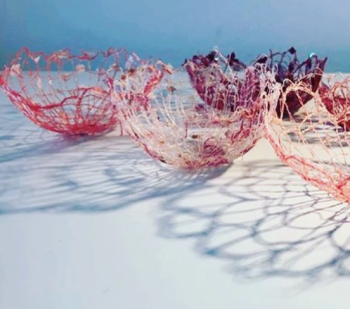
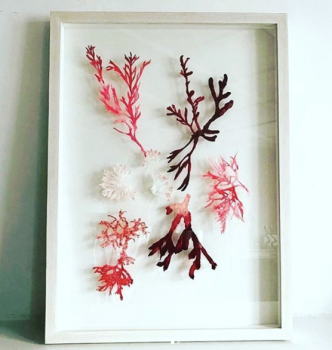
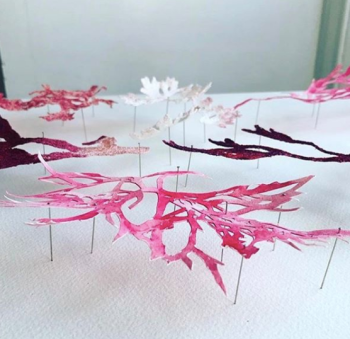
     I am working on a new piece which will be part of a solo exhibition I am planning to have in a couple of years. I've been very inspired by seaweed and its textural qualities. Walking by the sea daily I get to soak it all up. The last piece I made was in graduated pinks and suspended on pins, which created shadows. This piece is called The Darkness, and will be made up of layers, and using very dark, moody colours. I've not worked in this way before, and am interested to see how it develops...

    Screen Shot 2020-09-22 at 11.13.20     Screen Shot 2020-09-22 at 10.45.07

    Our next embroidery workshop takes place on SATURDAY 31st OCTOBER 2-6PM. If you’re interested in participating, click here to book your place. Anna is also available for one to one lessons on anything mentioned in this blog post.

    Anna’s work and designs can be found on her Instagram page: @annaliversidgeartist